Pages

Thursday, July 11, 2013

Kitchen Remodel Part...something


 When we went to "purchase our lovely home" we knew the kitchen would need an overhaul...


...and so the nasty navy tile counters were first to go!


And after weighing many choices/factors, we opted for a faux 'granite' laminate...


We were keen on the low maintenance of laminate and the lower price tag since we don't anticipate on being in this home long term, thus not being able to recoup the cost of a higher grade material...


...the colors are great, enabling us to decorate with plenty of flexibility...


 ...which prompted me to choose a composite sink to replace the nasty original, almond enamel monstrosity.


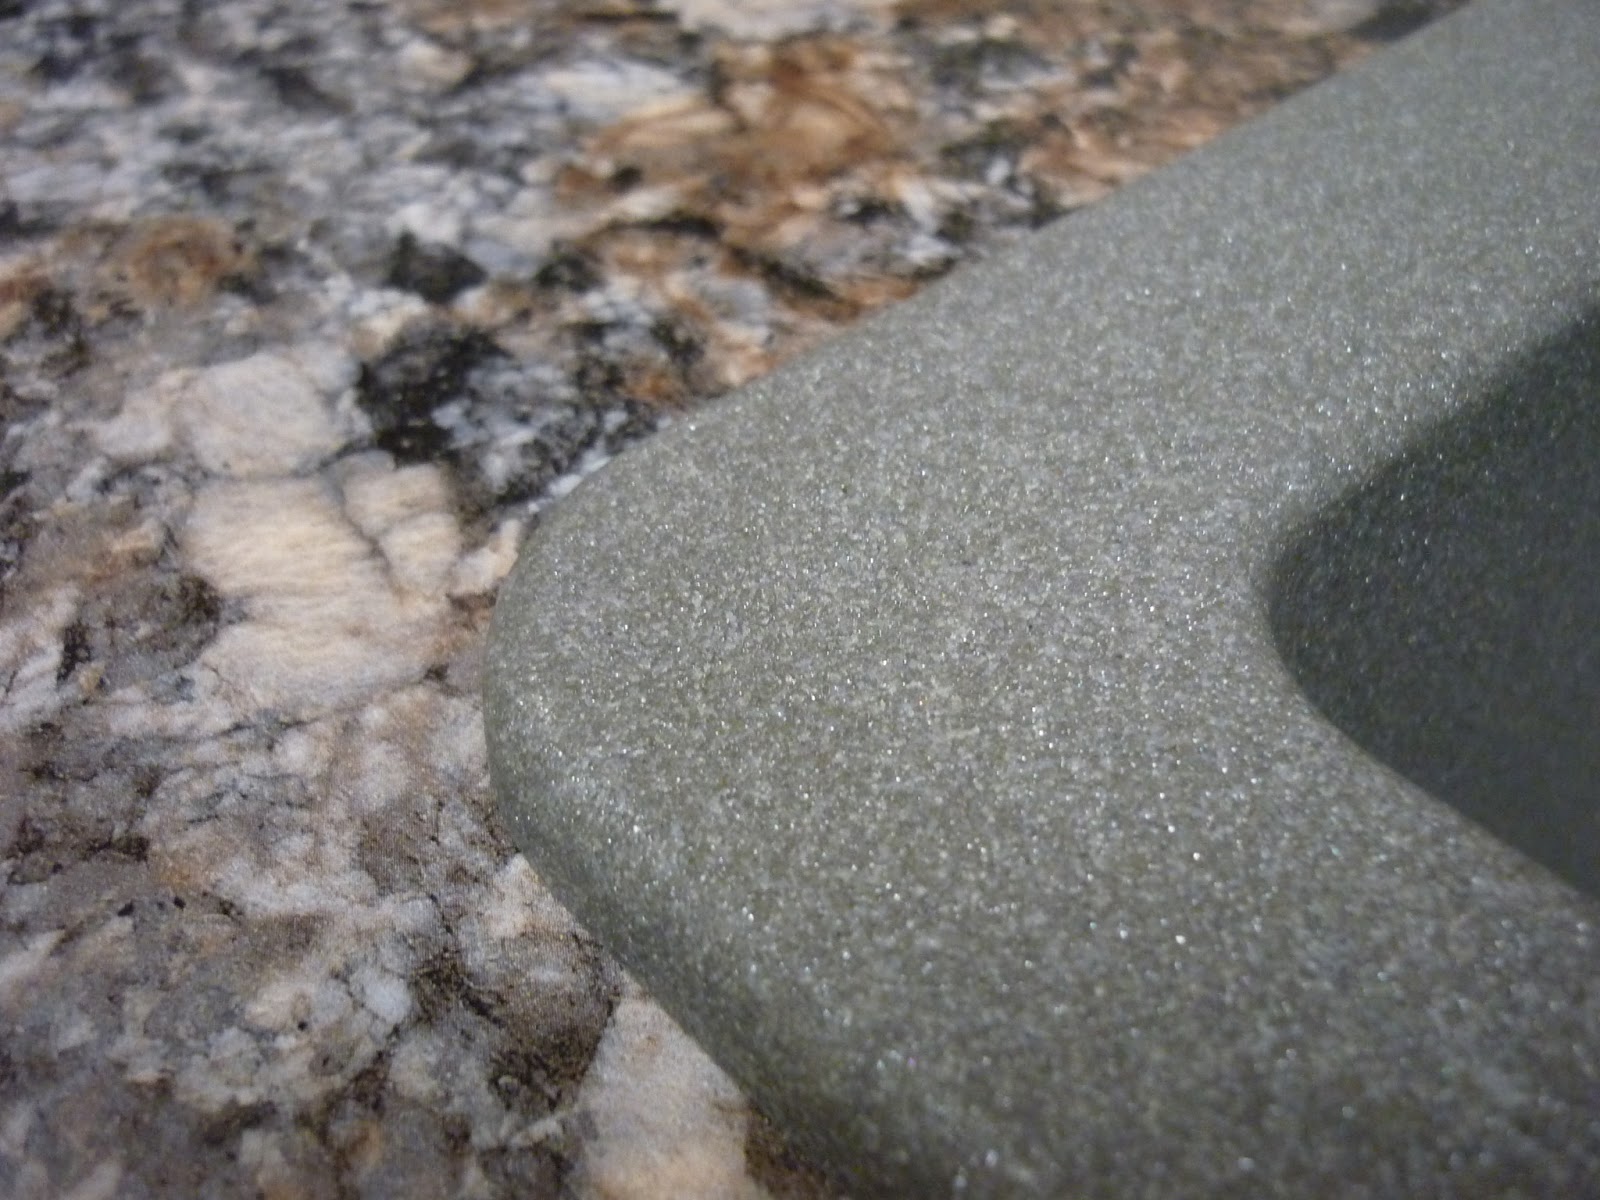
Here's a full size peek at our new sink which we purchased through Amazon...

    
...and I couldn't be happier with how it looks!
Love the metallic flecks:)


 Granddaddy spent hours installing this due to a difference in depth/plumbing, MIA instructions, a trip to Lowes etc... but it finally was in & no leaks evident...and it looks great!!!


We chose a 'double round' finish on the counters equating to no raw edges underneath, making it the best choice for little fingers:)


Bye bye dated tile...


...hello, new 'granite':)

Next we're tackling a tile back splash & the walls- more DIY fun ahead:)

Tiffany

Wednesday, July 10, 2013

Independence Day at IKEA

When I learned that "Ricky" would have July 4th off from work this year, I hatched a plan to traverse to IKEA- Granddaddy & Gramma courageously offered to ride with us and so off we went to Round Rock by way of "Bent Fork"!


We found lots of treasures (more details to come!) and while Granddaddy expertly repacked our "Cadillac convertible"...


...we commented that we might not make it through the "Holland Tunnel" so weighed down!


After playing in "Smaltown", eating "tockit cake" & exploring all the IKEA toys, Peanut was pooped!


 Granddaddy got jilted into the middle seat, forcing one foot to be straddled over the front seat armrest...


...so that Gramma could enjoy a catnap...
 

...though I'm not sure how much sleep she actually got!


My "Big Ol Boy" was feeling lousy while battling the dregs of a virus so he didn't even mind being sequestered in the rear- wasn't feeling too keen on pictures as you can see him hiding:(


When we finally made it home, Granddaddy got right down to business, hanging our new Pendant lamp...

 
 ...while "Ricky" spent a few minutes of "Daddy time", keeping our little Ms from being under foot & allowing me to unpack our treasures:)

Portfolio 5-3/4-in Polished Brass Ceiling Flush Mount
I neglected to snap a picture of our 23 yr/old brass, builder grade, tacky fixture before it was removed but this is a pretty close representation...eek.


And here is our lovely new pendant light...
 

...providing a lovely glow at night that Olivia is particularly fond of:)

Cost:
Pendant: $19.99
TOTAL: <$20 for complete transformation!!!

I'm so thrilled with our lovely new IKEA pendant & especially with the price tag:)


Stay tuned for more IKEA treasures & the reveal on our new counters & kitchen sink!!!

Tiffany

Tuesday, July 9, 2013

The Jasmine Dress

I was privileged to win 5 free patterns from Peek-a-Boo Pattern Shop awhile back & one of my choices was 'The Jasmine Dress'...


Here's my little Peanut sporting her dutiful pose while Mama attempts to snap a few pics...


I chose this red print (Hobby Lobby clearance!) with a vintage feel...


 ...and a plain mustard cotton for the contrasting bits:)


 Notice the petal ties...


...this was my first attempt at petal ties & I love how they turned out:)


And best of all, Olivia loves her new dress too!  Light & breezy, perfect for summer fun & an easy sew:)  Looking forward to using more Peek-a-Boo patterns, creating special pieces for my little Ms:)

Cost:
Fabric: approx $6
Elastic: $1
TOTAL: $7

Thanks for looking,
Tiffany

Monday, July 8, 2013

DIY Mantel Makeover

Our new home came with a much desired fireplace but no mantle:(  Initially I thought we could make a mantle (Pinterest strikes again!) but then realized it would take a lot of mitering & work so we took a look at Craigslist and found this mantle, ready for installation!


It had never been installed and the wood was in great shape, giving just the right amount of dimension to our cozy fireplace.


Remember this piece of lumber?  This became a modified French Cleat, minus the 45 degree angle...


...enabling us to anchor this mammoth to the wall safely:)


Granddaddy tirelessly applied a coat of primer and then a coat of semi gloss latex paint to our new mantle...


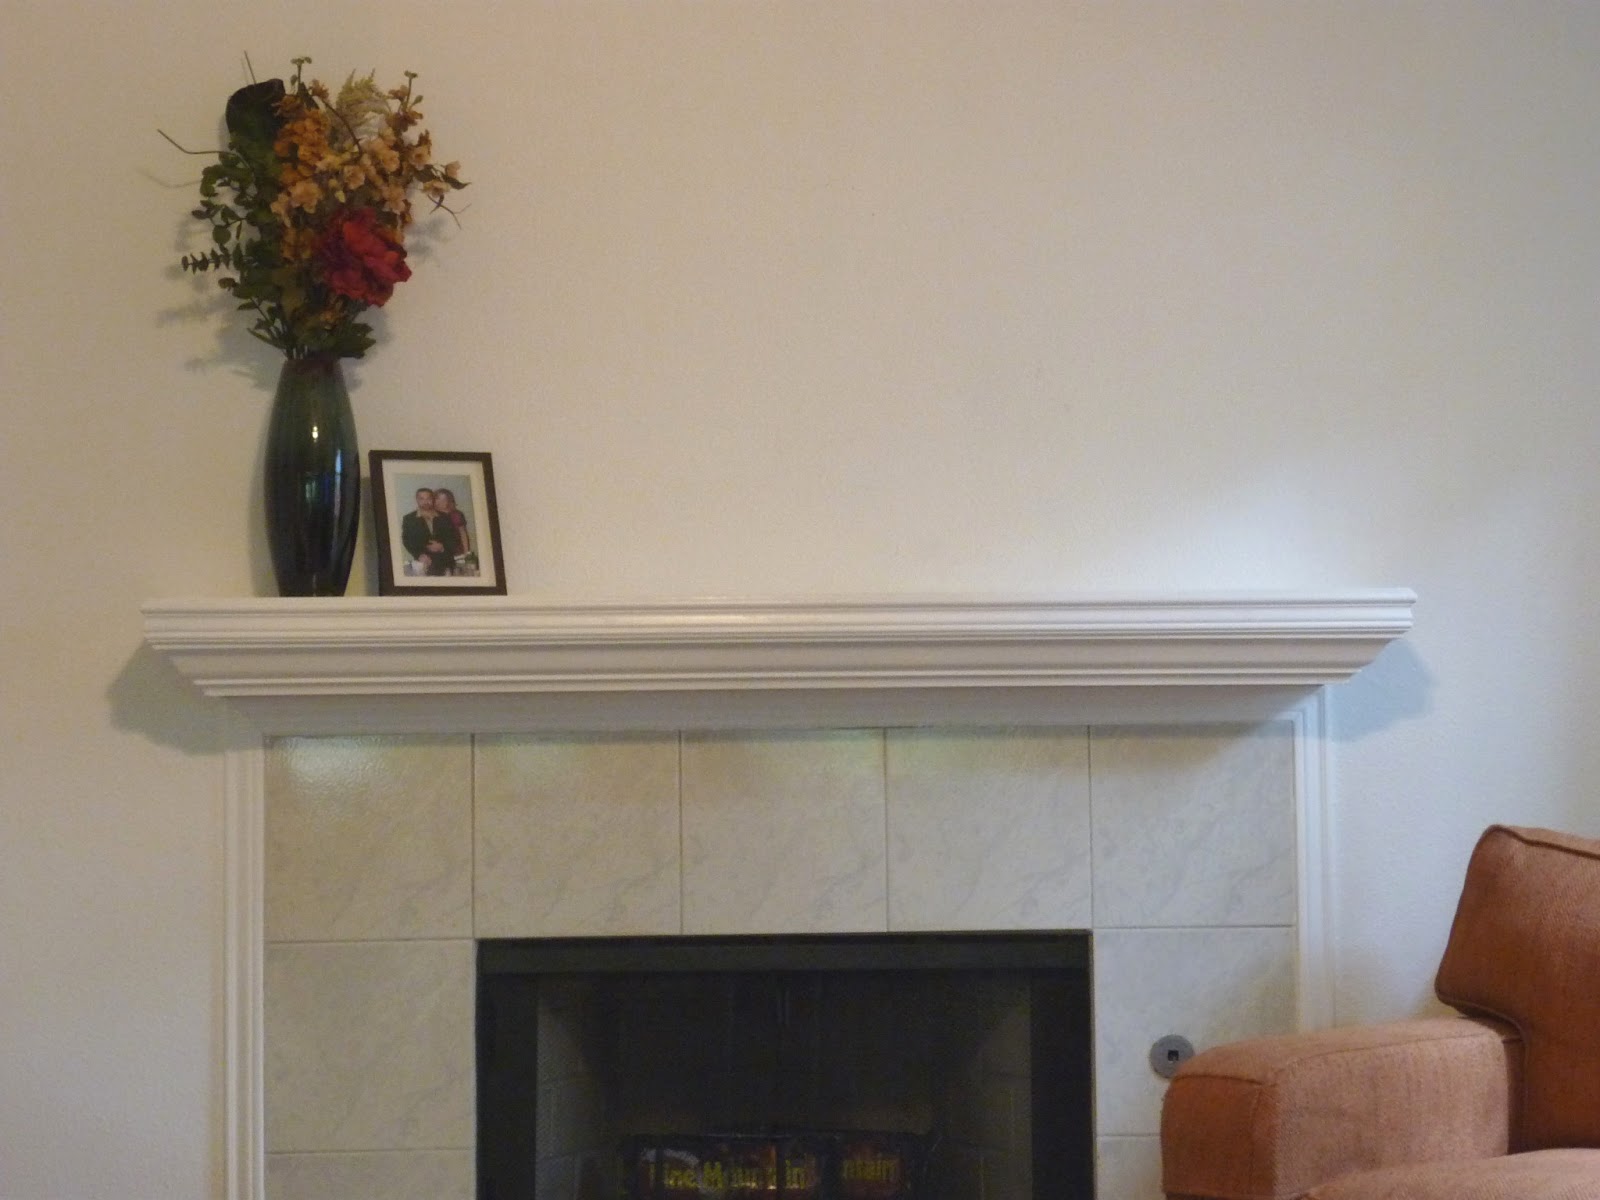
...revealing this beauty that looks as though it has always resided on our soon to be painted wall:)  Working on a mantle-scape now...


"Ricky" & I can't wait to hang stockings on our new mantle this Christmas!

Cost:
Mantle: $50
Lumber: $2
Primer: already had on hand
Paint: courtesy of previous owner
Paintbrush: already had on hand
TOTAL: $52!!!

Great deal for another DIY success!

Thanks for stopping by,
Tiffany

Wednesday, July 3, 2013

Watermelon Salad with Basil & Feta


Baby M was craving watermelon salad...


...and enjoyed every last bite of this treat!

Healthy & refreshing & comes together in just a few minutes:)

Based my yummy salad on this recipe but didn't measure anything and used half the suggested amount of red onion!

Enjoy,
Tiffany

Tuesday, July 2, 2013

DIY Ceiling Fan Makeover


In "Redecorating the Mertz's Apartment", Fred flatly refused to give up his worn but "comfortable" furniture, thus Lucy hatches a plan to reupholster Fred's chair, "stuffed with feathers"...it doesn't go well, as seen above:)


So, in the spirit of "Tight Wad" Mertz, we opted to do a DIY makeover on the ceiling fans in our new home vs buying all new ones...


  Eeek!  The first step was to frost those tacky glass shades...


 ...so I picked up a can of Krylon Frosted Glass spray paint and Granddaddy generously held his breath while spraying away...


...and they came out beautifully!  I was amazed:)


Next, the fan blades were kept in the order they were removed from the fan so we wouldn't have balance issues when reassembling...we also switched them over to the dark wood finish from the dated oak.


Next we took out this bad boy to tackle the overwhelming brass...


...and again, Granddaddy sprayed away...


...transforming the dated brass hardware...


 ...to a hammered silver- much better:)


And once reassembled, our dated brass ceiling fan looked modern...


...and gave off a lovely cozy, glow that evening:)  "Ricky" was amazed at this transformation and although it took a bit of ladder balancing and looking for miniature washers on the carpet...it was well worth it, thanks to Granddaddy!

Cost:
Ceiling fan- free
Spray Paint- <$15
TOTAL- $8 approx (we have enough spray paint to do another fan!)


And stay tuned to see how this bit of wood transformed our living room:)

Thanks for stopping by,
Tiffany