Pages

Showing posts with label GF. Show all posts

Thursday, June 19, 2014

Homemade Chewy, Choc Chip Granola Bars

Confession: I've been on Pinterest browsing for more DIY projects...but this time, for the kitchen!
 I have previously tried a few homemade granola bars but haven't found one that my Little Ms loved...


...until now!
Behold these: Chewy, Choc Chip Granola Bars!
And not only are these homemade & super easy but they're no bake too!


I started with OF oats...


...pulsed them in the food processor (ten 1 second pulses)...
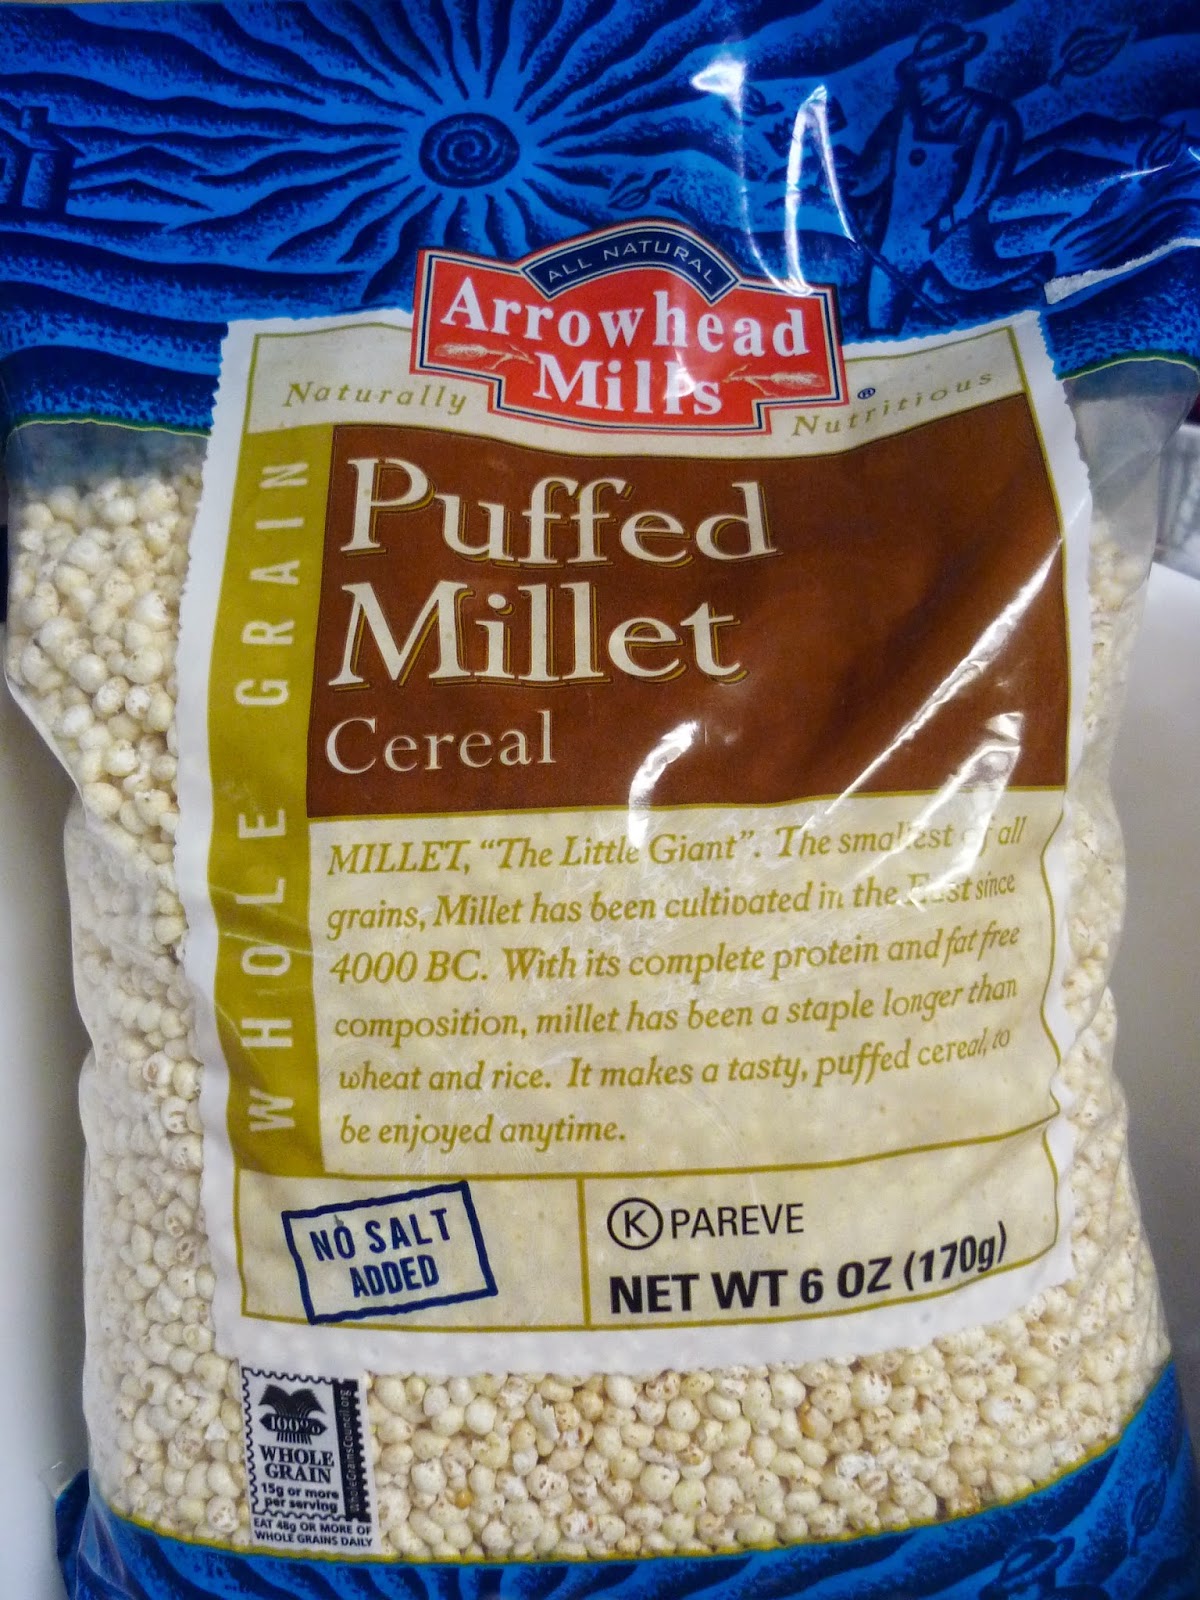

 ...added the oats to puffed millet cereal...


...and Rice Crispies... 


...then I cooked some honey, brown sugar, vegetable & salt for a couple of minutes...


...poured the hot mixture over the cereal and poured into the prepared pan...

TIP: Don't press the cereal down!!!


...and my little helper was ready to sprinkle mini choc chips...


 ...all over the top & press them into place!
Livy was so pleased with her efforts:)

Photo: 1st time "Ms. Picky" has enjoyed a homemade granola bar- as you can see, it was devoured!

And here is my little chef devouring her "swee swee"!!!

Homemade Chewy, Choc Chip Granola Bars
adapted from Kitchen Travels recipe
Ingredients:
1 3/4 cup old fashioned oats (I briefly pulsed mine in food processor)
3/4 cup puffed rice cereal
3/4 cup puffed whole grain cereal (I used millet)
1/3 cup local honey
1/3 cup light brown sugar (I used dark)
1/3 cup vegetable oil
1/4 tsp kosher salt (I used sea salt)
1/2 cup mini chocolate chips

Directions:
1. Grease an 8x8 pan and line with parchment, leaving 1 inch overhang on each side.
2. Combine oats & cereal in large bowl.
3. Combine honey, sugar, oil & salt in saucepan and melt over medium high heat.  Bring to gentle boil & boil 1 minute.
4. Pour hot honey mixture over cereal & mix.  
5. Pour hot granola into prepared pan- DON'T PRESS DOWN YET!
6. When granola is cool enough to touch, sprinkle choc chips over the top & press into place, gently.
7. Cool to room temperature & cut into bars.  Store in airtight container for 1 week or freeze.

Enjoy!
Tiffany

Saturday, November 2, 2013

Gluten Free, Homemade Hamburger Helper

I recently came across a fellow natural Mom sharing a recipe for a homemade, real food version of hamburger helper & was intrigued- I've never actually had hamburger helper but knew people resorted to such for ease & low cost...
HHingredients

...however, the ingredient list for such convenience is frightening!


Enter a homemade, real food version:
Ground beef
Salt and pepper
Onion
Garlic
Tomato sauce
Mustard
Pasta
Cheddar cheese

  This ingredient list was simple & I could tell would make a "pound stretcher", one pot meal evoking fall comfort so I gave it a try today:)


Ready in under 30 minutes, this makes an excellent weeknight, family friendly meal, sure to please & I made mine GF!

Homemade Cheeseburger Helper

1 lb. ground beef
½ tsp. salt (I used more salt)
1 tsp. black pepper
1 clove minced garlic (or ¼ tsp. garlic powder)
½ onion, chopped fine (or 2-3 tsp. onion flakes)
1 ¼ c. tomato sauce
1+ tablespoon yellow mustard
1 ¾ cups water (I added a tad more water)
2 ½ cups short pasta, any shape (I used GF penne)
 2 cups shredded sharp cheddar cheese
Chopped fresh parsley (optional)

Instructions:
  • Brown the beef in a large skillet with the salt, pepper, garlic, and onion. 
  • Drain the fat and add the tomato sauce and mustard, stirring gently. 
  • Add the pasta and water, and bring to a boil.
  • Reduce heat to low, cover and simmer for 12-15 minutes until the pasta is cooked, stirring occasionally. 
  • Turn off the heat, stir in the cheese, sprinkle with chopped parsley and serve!
 

I coupled this entree with sauteed summer squash & it was perfect:)

Better Than A Box

This recipe is included in the Better Than A Box cookbook that I'm  hoping to acquire:)

Hope you enjoy,
Tiffany

Monday, July 22, 2013

Edible, Eatable Butterflies...you can eat 'em!

With Mama battling morning sickness all last week, and the kids in a bit of a food rut, I was feeling desperate to try something new...


 ...so we switched up lunch, just a little, by making butterfly grilled cheese sandwiches!

Grab some Tillamook cheddar, Kerrygold butter & Udi's GF bread, all from Costco to keep things yummy, nutritious & easy...


...add a butterfly sandwich cutter...


 ...and then lightly grill that sandwich, the way a certain little Miss likes it:)


 Taking a tentative bite...
Me, "Do you like your butterfly grilled cheese, Livy?"


"...uhhhhh..."


"...yessss!"


Jonah, just up from his nap, patiently waited for his butterfly while munching on grapes:)

When everything seems to require energy that Mama is in shortage of at present, this little activity made everyone happy:)

Enjoy your butterflies,
Tiffany

Tuesday, March 5, 2013

Rice Pilaf with Currants & Pine Nuts

Here at the Ricardo's we eat our fair share of rice and while basic white rice is versatile, I like to vary things...  And since we're in the midst of moving, I'm seriously tackling every item in our pantry, fridge & freezer, searching for creative way to not waste anything!

This recipe was a staple when "Ricky" & I first got married but for some reason it got pushed to the back of my mind and I haven't made it in ages...until today!  Enjoy!

Rice Pilaf with Currants & Pine Nuts
(adapted from Cooks Illustrated)

Ingredients:
1 1/2 cups Basmati or Long grain white rice
1 1/2 tsp salt
Pepper to taste
2 1/4 cups water
3 tbsp butter or olive oil
1/2 cup onion, chopped finely
1/4 tsp Cinnamon
1/2 tsp Turmeric
2 garlic cloves, minced
1/2 cup dried currants
1/4 cup pine nuts, toasted

Here are some step by step instructions:


 1. Place the rice in a fine mesh strainer over a bowl and cover with water; drain the water and repeat until the water run clear, 4 to 5 times.

Tip: Yes, this step really is important as it rinses excess starch from the rice:)


2. Place butter (or olive oil) in medium, heavy bottomed saucepan, heat over medium heat until shimmering and then add onion (I used red this time & really like it).

"Sweat" (soften) the onions for approx 4 minutes but ensure they don't brown.


3.  Next, add the Cinnamon, Turmeric & garlic and saute for 1 min until the spices have "bloomed" and become very fragrant.

Set your 'handy dandy' electric kettle to boil at this point.


4. Add the rice back to the pot and combine gently with the onion & spice mixture- I prefer wooden spoons to metal/plastic.

Stir frequently for approx 3 minutes- notice the rice grains will turn translucent.


 5. Place salt & pepper in a measuring cup, top with 2 1/4 cups boiling water and pour into pot with the rice, swirling to distribute evenly.

Tip: Avoid stirring with a utensil as this draws unwanted starch from the rice making it more clumpy!


6. Bring to a boil over medium high heat, cover and reduce heat to low.  Cook for 16-18 minutes.

7. Remove the lid and place a clean kitchen towel around it.  Pour the currants over the rice (don't stir!), return the lid and steam, off the heat for 10 minutes.  No pic, sorry:(


8. Remove the lid, add the toasted pine nuts and gently fork/toss to combine! 

Tip: Never toasted pine nuts? Place them in a dry skillet over medium heat and toast for a few minutes, checking often, until fragrant and golden:)

FYI...


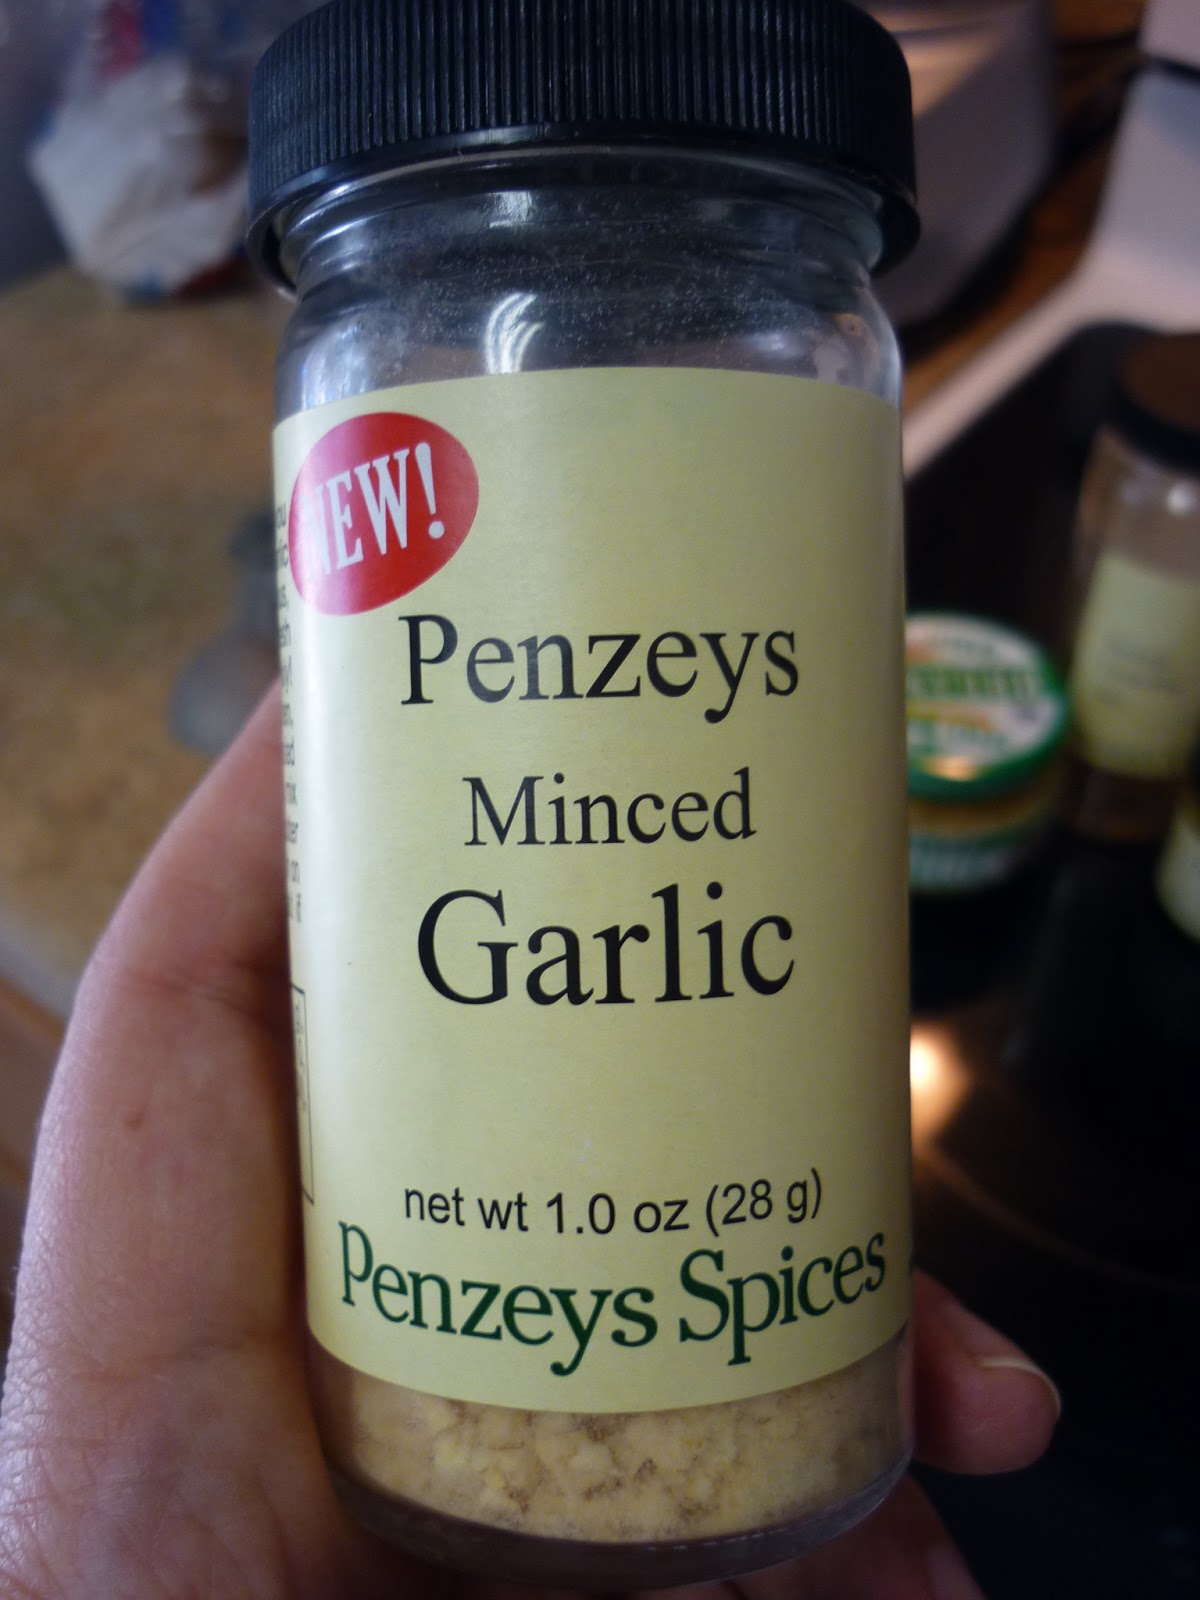
 If you don't have fresh garlic on hand, Penzeys has solved your predicament with their dried minced garlic- simply add a bit of water to reconstitute for approx 1 minute and add to your recipe as needed:)  I received this as a free item in one of my Penzeys orders and have used it a lot!


Warning: this rice is very addictive, especially if it's left out, so I recommend serving it immediately or portioning it out for your husband's lunch, the way I did!

Thanks for stopping by,
Tiffany