Pages

Showing posts with label baking with kids. Show all posts

Thursday, June 19, 2014

Homemade Chewy, Choc Chip Granola Bars

Confession: I've been on Pinterest browsing for more DIY projects...but this time, for the kitchen!
 I have previously tried a few homemade granola bars but haven't found one that my Little Ms loved...


...until now!
Behold these: Chewy, Choc Chip Granola Bars!
And not only are these homemade & super easy but they're no bake too!


I started with OF oats...


...pulsed them in the food processor (ten 1 second pulses)...
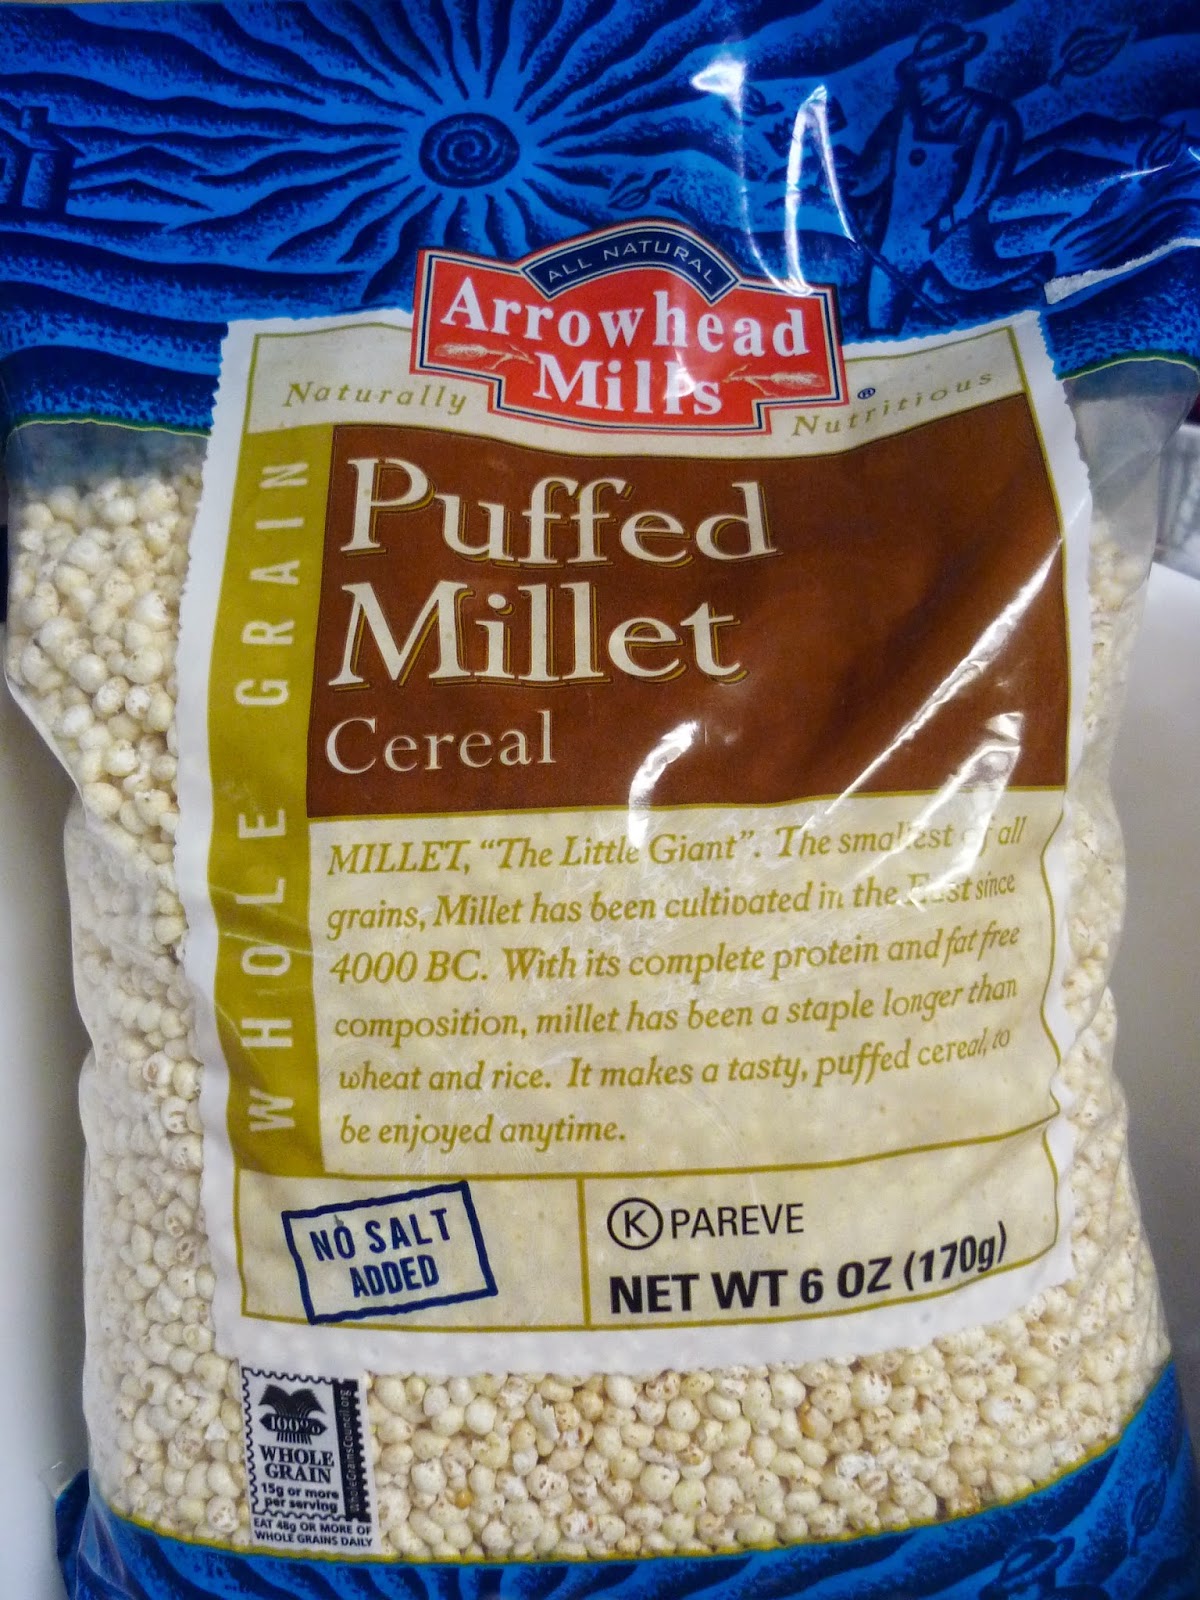

 ...added the oats to puffed millet cereal...


...and Rice Crispies... 


...then I cooked some honey, brown sugar, vegetable & salt for a couple of minutes...


...poured the hot mixture over the cereal and poured into the prepared pan...

TIP: Don't press the cereal down!!!


...and my little helper was ready to sprinkle mini choc chips...


 ...all over the top & press them into place!
Livy was so pleased with her efforts:)

Photo: 1st time "Ms. Picky" has enjoyed a homemade granola bar- as you can see, it was devoured!

And here is my little chef devouring her "swee swee"!!!

Homemade Chewy, Choc Chip Granola Bars
adapted from Kitchen Travels recipe
Ingredients:
1 3/4 cup old fashioned oats (I briefly pulsed mine in food processor)
3/4 cup puffed rice cereal
3/4 cup puffed whole grain cereal (I used millet)
1/3 cup local honey
1/3 cup light brown sugar (I used dark)
1/3 cup vegetable oil
1/4 tsp kosher salt (I used sea salt)
1/2 cup mini chocolate chips

Directions:
1. Grease an 8x8 pan and line with parchment, leaving 1 inch overhang on each side.
2. Combine oats & cereal in large bowl.
3. Combine honey, sugar, oil & salt in saucepan and melt over medium high heat.  Bring to gentle boil & boil 1 minute.
4. Pour hot honey mixture over cereal & mix.  
5. Pour hot granola into prepared pan- DON'T PRESS DOWN YET!
6. When granola is cool enough to touch, sprinkle choc chips over the top & press into place, gently.
7. Cool to room temperature & cut into bars.  Store in airtight container for 1 week or freeze.

Enjoy!
Tiffany

Friday, December 27, 2013

Pumpkin Peanut Butter Dog Biscuits

Well, now that our Christmas gifts have been shared, I can share the details with you:)

In keeping with my love of themes, I used a "Baby it's Cold Outside" theme as a springboard, creating something to be shared indoors for our family, including the canine members:)


For our beloved doggies, I chose this recipe for an all natural, treat- I didn't have any "guinea pigs" but the reviews were good so fingers crossed these biscuits are being enjoyed!


This was a perfect activity to get my little Ms involved, so with much flour and dough flying, we began!


Livy dove in with her "favorite shape" aka the mini heart cookie cutter...


...and quickly got the hang of popping out the dough...


...while Jonah found that his tummy somewhat inhibited his ability to cut very many biscuits...


...but he didn't mind arranging the "star!" and "har!" biscuits on the cookie sheet and popping a few bits of dough into the bag of flour- "mess!":)


Livy, my serious helper, switched to the star cutter...


...and with four baking sheets laden with stars & hearts, Mama baked them:)

Pumpkin Peanut Butter Dog Biscuits

Ingredients:
1 15oz can pumpkin puree
2 eggs
3 Tbsp all natural peanut butter
3 cups whole wheat, brown rice flour or GF flour- we used GF!
1/2 tsp cinnamon (optional)
1/2 cup oats (optional if your dog is on a grain free diet)- we left out the oats too!

Directions:
  1. Preheat oven to 350 degreess
  2. In a small bowl, combine the pumpkin puree, eggs & peanut butter.
  3. In a large bowl, combine the flour, oats & cinnamon, if using.
  4. Stir wet ingredients into the dry and pour onto floured work surface- dough will be sticky so have extra flour on hand:)
  5. Roll out to approx 1/2 inch thick and bake for 30-35 mins, until golden brown.
  6. Place biscuits on cooling racks and let cool thoroughly- the biscuits will harden as they cool.
  7. Store in an air tight container and use within 2 weeks.
*Cinnamon is safe for doggies but not pumpkin pie mix which is toxic!!!


We ended up with over 6 dozen treats since we used small cutters but this will obviously vary.

There are many dog treat recipes floating around the web so I would love to hear of any that you make:)

Next I'll be sharing part 2 of our homemade doggie gift:)

Thanks for stopping by,
Tiffany

Wednesday, October 2, 2013

Quick & Easy GF Peach Cobbler...

...sshhhh, it's gluten free!


On a whim I bought a 4 pound bag of organic frozen peaches at Costco as Baby M was craving peaches and enjoyed one whole bowl full...but then they just sat in the freezer:/


So I opted to try a new peach cobbler recipe utilizing frozen peaches (so it can be enjoyed year round)...


...and giving Pnut an opportunity to help, which she loved- this recipe is great for little helping hands:)

Quick & Easy GF Peach Cobbler- adapted from Cooks Illustrated.

Ingredients:
Filling:
2 pounds frozen peaches (start thawing approx 2 hrs beforehand)
1/4 cup granulated sugar
1 tsp arrowroot
1 Tbsp lemon juice from 1 lemon
pinch of table salt  

Bisquit Topping:
1 cup Bob's Red Mill GF Bisquit & Baking Mix
3 Tbsp granulated sugar, plus 1 additional teaspoon
5 Tbsp unsalted butter, cold & cut into 1/4 inch cubes
1/3 cup plain whole milk yogurt

Instructions:
1. Adjust oven rack to lower middle position & heat oven to 425 degrees.
2. For the filling: Defrost peaches completely in colander.  Gently toss peaches with sugar in large bowl; let stand for 30 mins, tossing several times.  Drain peaches in colander set over large bowl.  Whisk 2 Tbsp of the drained juices (discard extra), arrowroot, lemon juice & salt together in small bowl.  Toss peaches with juice mixture and transfer to 8-inch-square glass baking dish.  Bake until peaches begin to bubble around edges, approx 15-20 ins.


3. For the topping: While peaches are baking, in food processor, pulse GF baking mix with 3 Tbsp sugar to combine.  Scatter butter over and pulse until mixture resembles coarse meal, about 10 1-second pulses.  Transfer to medium bowl; add yogurt and toss with rubber spatula until cohesive dough is formed.  (Don't overmix dough or bisquits will be tough.)  Break dough into 6 evenly sized but roughly shaped mounds and set aside.


4. To assemble & bake: When peaches bubble around edges, remove baking dish from oven and place dough mounds on top, spacing them at least 1/2 inch apart (they should not touch).  Sprinkle each mound with portion of remaining 1 tsp sugar.  Bake until topping is golden brown, about 18 minutes.  Cool cobbler on wire rack until warm, about 20 minutes; serve with ice cream:)

  
***This recipe was not originally GF- I subbed and it came out great!

Scooping peaches and a bisquit in each bowl with a dollop of ice cream was delish- I had hoped to make ice cream but it didn't happen...so I'm planning to make this again, with my homemade ice cream!

Thanks for stopping by & let me know if you would like the ingredients for a non-GF version- no judgment!
Tiffany

Sunday, October 21, 2012

Festive Fall Leaves


There are so many things that I love about the fall, and among those are fall leaves.  Crunching, cascading, these little gems are a treat as they float by in the blustery breeze...aahhh.

Unfortunately, there's not a lot of gorgeous fall foliage to be had here in south TX at present, so I made my own falls leaves- sugar cookie leaves:)


And before you start thinking, "That's too much work for me...", let me assure you that I'm not super Mom and sometimes I cheat.  For example, I opted to use the Betty Crocker sugar cookie mix- they're almost as good as 'from scratch' sugar cookies and since they save a bit of time (that I would prefer to spend on decorating!), I used the mix!


Like I said, the decorating is the really fun part and for that you need a yummy glaze.  I'm afraid I don't measure anything when I make frosting/glazes but here's a rough idea:

1 tbsp butter (melted and cooled slightly)
dash of vanilla
powdered sugar (approx 4 cups)
milk to form desired consistency

TIP: If your glaze is lumpy (by not sifting your powdered sugar like moi!), no worries- once the sprinkles are in place, no one will know!


In this batch, I included oak leaves (my faves)...


...maple leaves...


...and acorns. I got the cookie cutters at Sur La Table (drool...) as they're very reasonable and they have a fabulous collection!  So worth a a trip to La Cantera!


Even added some sparkly yellow glaze to the stems:)

I never pay full price for cookie/cake decor- check your clearance spots and save!  Makes for even sweeter baking times:)

So now it's your turn to make some sweet fall leaves!  Have fun baking and get the kids involved- Livy had a blast "hepping" and had even more fun eating them!  Jonah issued no complaints either:)

Thanks for stopping by,

Tiffany