Pages

Showing posts with label felt. Show all posts

Tuesday, March 18, 2014

DIY Minnie Mouse Ears

Back to Livy's Minnie Mouse party preparations...


...DIY Ears!

Let me start by saying this project isn't difficult; just a bit tedious.

I started by looking at this tutorial from a fellow Mom & used it as my guide.


Ideally, I was looking for black headbands to negate the need to cover each band
 but couldn't find them in packs so I settled for these multicolored packs of 6 from Dollar Tree.

We had already bought the "special" sequin ears for the birthday girl 
before I decided to delve into this project:)


I already had the black felt, red polka dot ribbon and my handy dandy hot glue gun on hand, so the first step was to make a pattern for the ears...
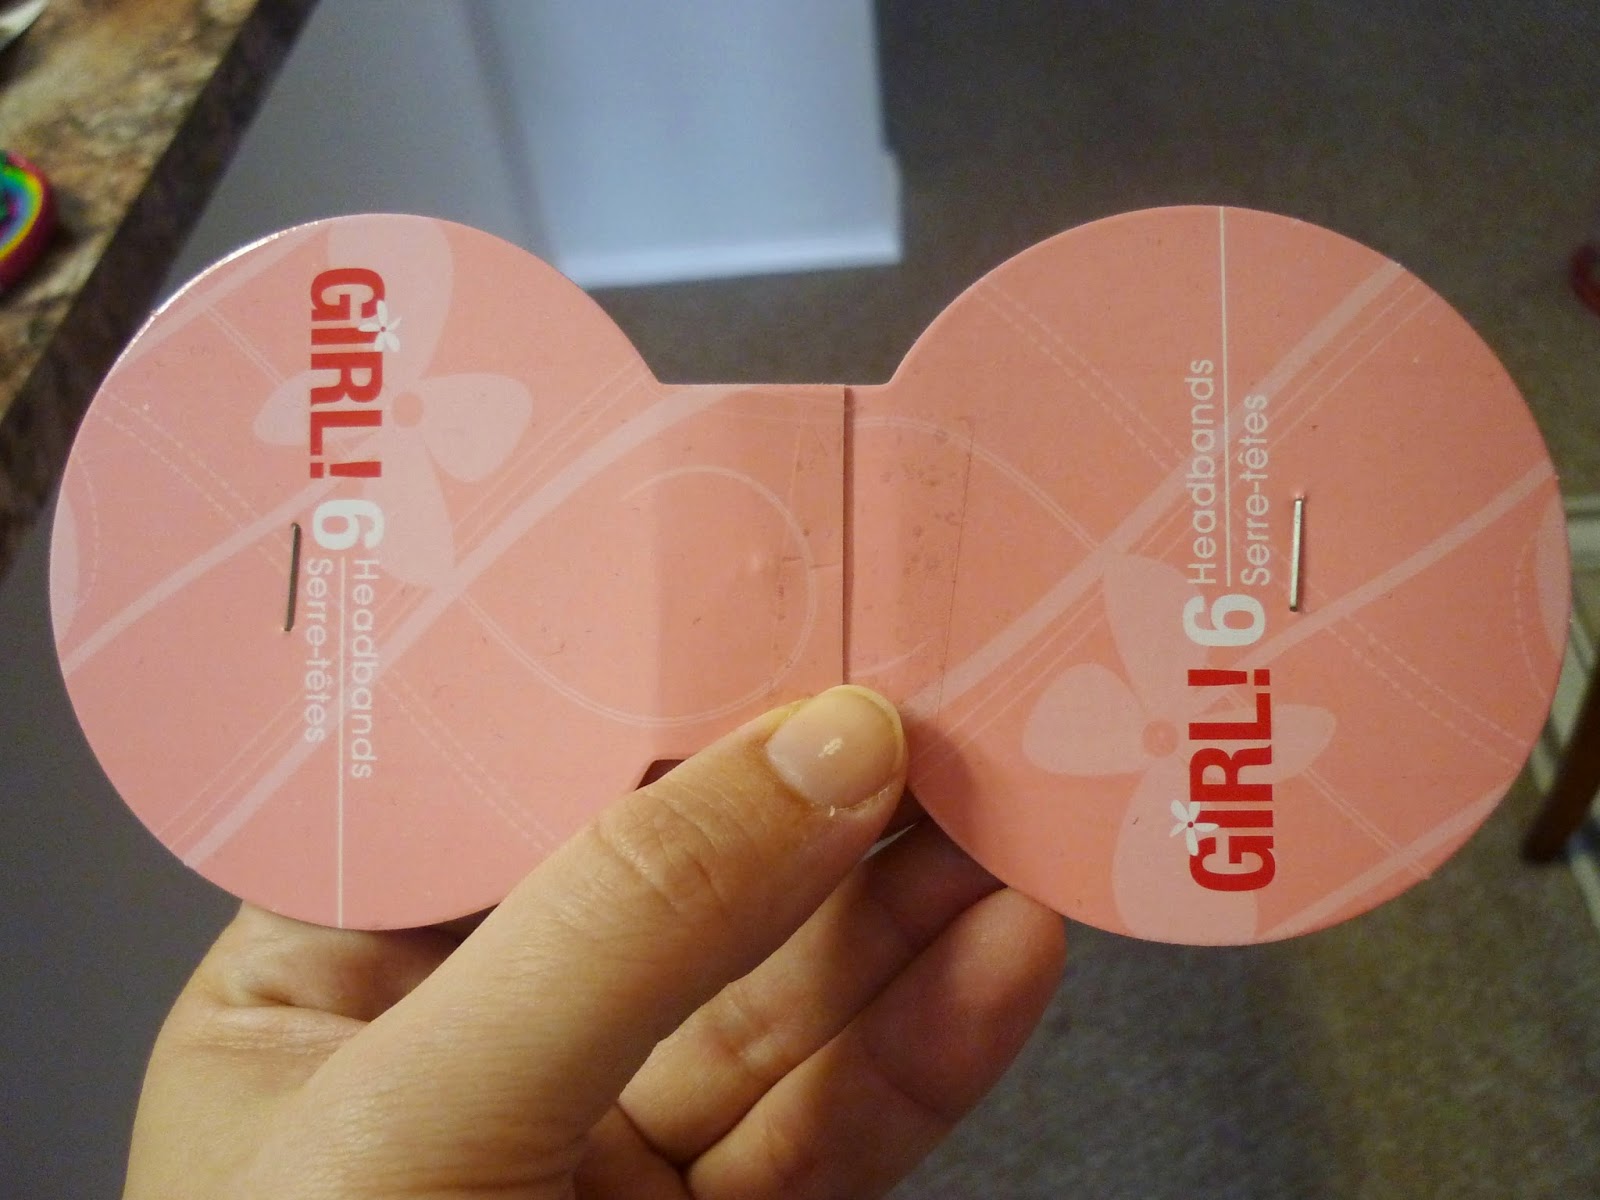

...I found using the headband covers, taped together, formed a great pattern- 
one less thing to make from scratch! 


Next I traced the pattern onto the black felt.  
I can also attest that sidewalk chalk will work in a pinch;)


Now it's time to cut the felt strips to cover the headbands- 
approx 2.5 times the width & add an inch to the length.

TIP: a rotary cutter works so much better than scissors for this step!


Grab some fun foam (or a cereal box!) and cut circles slightly smaller than the ears-
these will reinforce the ears & help them stand up:)


Get your glue gun ready and adhere the cardboard circles to the ears- 
I just used one circle per "ear".


Next adhere the ears together, leaving some room at the bottom to slide onto the headband before being permanently attached.


Time to cover those headbands, the most tedious part.  
I started at one end and gradually added beads of glue along the outer spine, 
pressing the felt in place to smooth the glue.

Then do the same for each side of the felt, 
overlapping and smoothing, running the glue to the end of the felt- 
clip off the ends, even with the headband, for sealed edges.


Finally slide the ears in place and add beads of glue at the base, pinching & pressing.

If you're making Mickey ears, you're done.  
Otherwise, make a bow and attach in place for Minnie:)


I made a dozen and called quits but I'm glad I made the effort...


...the birthday girl was pretty happy...


...and so was our 'Mickey'!

Thanks for stopping by,
Tiffany

Saturday, December 28, 2013

Handmade Dog Toys

Yesterday I shared our homemade doggie biscuits- today I'm sharing some plush toys that I made to pacify little canine chompers after indulging in their pumpkin treats:)


 I chose the classic 'dog bone' shape, found an image online (although it would be simple to just free hand!) and began cutting my fabric...


...which I scored at a garage sale- black felt & a cute black & white quilting cotton with doggie verbage:)


I cut a black felt back & white cotton front for each bone and sewed RST (right sides together), leaving a gap for turning- I also ran my pinking shears around the perimeter.


Once turned out, I ironed flat and stuffed chock-a-block with polyfill!

I then delved into learning the "invisible stitch" and hand sewed each gap closed.

These may not last long but were made with love and Livy enjoyed helping to stuff these gifts for her canine cousins:)

Next, I'll be sharing the 'people' gifts:)

Thanks for stopping by,
Tiffany

Thursday, May 2, 2013

Vegetable Sensory Garden

So with over 10# of Milo seed left over from the bean bag eggs, I opted to do 3 vegetable sensory gardens for Livy's farm day:)


I vaguely remembered a tutorial from Martha Stewart on making heirloom tomato pin cushions & took that idea to create some heirloom felt tomatoes...


...using left over scraps, I didn't fuss over these much and Livy was still thrilled with her "matoes":)

 
Next came the zucchini...


And I cheated on the carrots, snagging them in the Easter clearance items from Hobby Lobby:)


So now the veggies were done and all nestled in their Milo "soil", awaiting little farmer's to plant them:)

Tomorrow, check out my DIY stick "horsies"!
Tiffany

Wednesday, May 1, 2013

Sunny Side Up

Next in line for the birthday preparation was games.  I opted for a bean bag toss using "eggs":)


I had some white cotton on hand and with a fabric pencil, fabric scissors & handy dandy cereal bowl, began tracing & cutting lots of circles...


...then I cut lots of yellow felt circles for the "yolks"...


...the eggs were then sewn up, filled with Milo (seed) and placed in their basket, awaiting their big reveal:)
I made 20 "eggs" since I had the fabric to make that many:)

This was a fun little project and saved me a bundle:
Cotton= free
Felt= $1
20# Milo Seed= <$10
TOTAL: <$5

I used approx 1/3 of the Milo- the remainder was used for the vegetable garden...details tomorrow!
Thanks for stopping by,
Tiffany

Tuesday, November 20, 2012

Felted Fall Garland

 "Ricky" & I are honored to be hosting our family Thanksgiving dinner this year so a little decor is in order...but if you're like me, then you're rushing around trying to decorate for Thanksgiving at the last minute:)

Hence my handy dandy Felted Fall Garland:


This comes together in under 30 mins so you can totally try this too!

First run some felt (I just used craft sheets) through your Big Shot in several colors...


...arrange in desired pattern and then thread!


Hang in desired place & you're done!  No sewing, no adhesive- easy & the kids are thrilled:)

Total cost: less than a dollar for the felt!  Great activity for the kids to help with too:)

Have fun & stay tuned for my handy dandy fall wreath:)
Tiffany

Thursday, October 25, 2012

Fishies!

  I'm so honored to be sharing a special project over at Sweetstamper's blog today- hop on over to check out my "fishies"!!!

Thanks for looking,

Tiffany

Thursday, October 18, 2012

Winter Applique For Jonah

Greetings all.  I've recently gotten on a kick about applique and have been stashing tops for the kids, ready to be transformed into something unique and special:)  Result:  I have tops that need to be finished or they won't fit soon!

So, I pulled out one of Jonah's Ts (a GAP goodie from Kid to Kid that looks new!) and spent an ungodly amount of time trying to decide what images I wanted to showcase...because it "has to be, has to be" (random You've Got Mail quote...) just right!

And here is what I decided on:


A simple "doughman" as Olivia would say:)  Somewhat anti climactic after all the gray matter I used up, but it seems just right for my little boy- unfussy, classic & all boy:)

This was really tough to do; I took craft felt (yeah, not even the good stuff!) and cut all the circles using the Sizzix Big Shot (don't know how to create without it!) and free handed the other 'bits'.  I top stitched the body in place and then applied fabric glue to all the smaller 'bits'- I did go back over those 'bits' with a few stitches since this is for my little "destroyer"!

So what do you think?  Ready to try this out for your own little tot?  This would make an easy Christmas gift:)

Here's what you need:

T shirt (a nice one...if you're taking the trouble to embellish, don't use something "chinchy"!)
Felt (craft or the good stuff)
Fabric Glue (I got 'Api's Crafter's Pick' from Hobby Lobby with a coupon!)
Needle & thread
Scissors


When 'Ricky' saw Jonah's new shirt he said, "What does 'Brr' mean?"  After explaining (since it doesn't get cold here that often!) I found myself laughing while remembering Lucy's frequent response of "He's from Cuba"!!!  Case in point:)

Thanks for stopping by,

Tiffany

Tuesday, September 11, 2012

Anchors Away!


Happy Patriot Day!  During our recent Labor Day jaunt to Kid to Kid, I picked up a basic black & gray long sleeved T-shirt ($2) for Jonah in hopes of adding some applique- I've been dying to try some applique so here's my first effort.

I spent all of 2 minutes googling my desired applique template, printed it out with my handy dandy printer and cut it out:

Then I pinned the template to some red felt that I snagged from Sweet Stamper (handy dandy Mother!) and cut out- this was accomplished with my eyes half closed as the kids ate breakfast, so imagine my surprise when I saw that it looked decent!


Next I top stitched the anchor with some doubled black thread- I didn't use any fusible stuff as it's a smallish piece, wasn't going to experience a lot of wear/washing and the felt naturally 'sticks' to the jersey:)


My stitching was a bit messy ensuring that Jonah's shirt would have that 'homemade' feel- Olivia had commandeered one of my arms to snuggle with while I was trying to stitch:)


 Next I found these cute metal buttons at Hobby Lobby (for a whopping $1.35)- they came in a 3 pack so I opted to just use all three:)


Here is Jonah's completed 'Anchors Away' T-shirt; I love how it turned out, especially as this was my 1st try with applique!  My top button shifted a bit while stitching but oh well...I'm learning to embrace the imperfections of my efforts to actually get things accomplished:)


And Jonah loves posing for pictures in his new 'designer' T-shirt, just like the 'Cuban Ham':)

Let me know if you have any questions & stay tuned for more applique:)

Tiffany