Pages

Showing posts with label handmade. Show all posts

Friday, August 16, 2013

Very Hungry Caterpillar Birthday- DIY Favors

Between morning sickness and the DIY fervor running here at The Ricardo's, I opted to make simple favors for Jonah's Very Hungry Caterpillar birthday and use as many existing supplies as possible...

Favor #1:
I gathered up some brown paper lunch sacks, mini clothespins, seed packets, mini biodegradable plant pots, potting soil (not shown) and pom poms...


...and inside each parcel is housed seeds, soil & pots...


...and a hungry caterpillar munching away- I used a handy dandy Crop-a-Dile to make the holes but a hole punch will work too:)


No fancy punches on the tags- just quick & simple:)


Cost:
Brown Paper Sacks: free (already had)
Mini Plant Pots: 12 for $1 x 2= $2
Mini Clothespins: free (already had)
Seed Packets: free (leftover from Livy's 3rd birthday)
Pom Poms: $2 (lots leftover...)
Potting Soil & Ziplocs: free (already had)
Tags: free (handmade with existing supplies)
TOTAL: <$4 for 8 favors

Favor #2:  


I had a stash of Wilton favor tins that I had never used & so opted to fill them with...


..."caterpillar food" aka M&Ms:)


Livy helped to fill the tins while munching on some caterpillar food & Auntie Leah's crocheted  strawberries were a lovely visual addition:)


And after I was left with this mess for the umpteenth time, I scrapped trying to print on the provided labels and opted to leave them blank:)

Cost:
 Wilton Favor Tins: free (purchased several years ago for a project never completed)
M&Ms: $2.50
TOTAL:  approx $0.10 each

Favor #3:


I snagged these all natural cherry fruit snacks at Big Lots for $2/box, $0.40 each...


...and here they are chilling in a left over basket from Livy's 3rd birthday:) 


I reused the chalkboard from Livy's birthday, removing the rodeo bow and adding a paper fan of red polka dot paper (creased/cut using the Sizzix Big Shot)...


...and another pom pom caterpillar:)


The mantle became the resting place for Jonah's party favors & everything laid out perfectly...


...making me a happy Mama:)

Conclusion: 
All 3 favors came to under $1 per kiddo & I used a bunch of my stash supplies- so chuffed:) 

Thanks for stopping by & stay tuned for more details on Jonah's birthday!
Tiffany

Friday, February 15, 2013

Designer Fabric Business Card Holders


Here's one of my recent 'completed' sewing projects...I made one of these 'Designer Fabric Business Card Holders' for each of the ladies in my family & they were so fun to make!  What a great way to promote your business:)  


I followed this great tutorial & found these scrunchies worked really well:)

TIP: Be sure to get the fusible fleece vs regular interfacing!


 Large chunky buttons are a must!


And I love the look of the contrasting fabrics from Stampin' up!

These little cuties are perfect to tuck into an upcoming Easter basket (it's just around the corner!) or just because, so have some fun with these fabric business card holders!

Thanks for looking,
Tiffany

Tuesday, January 29, 2013

Model to a T


Back in the fall I made a little ensemble for Livy for under $10 and was quite proud of it, especially it being my first:)  However, the sleeves were a bit long & then by the time I added cuffs, they were way too long!  So it has sat in Livy's dresser...


 And then I finally remembered to shorten the sleeves- this worked like a charm but I didn't like how the new seam looked with the existing top stitching etc... so I added some yellow grosgrain and coordinating hot pink buttons for beautification:)


 I also added the ribbon to the hem of the skirt and around the large flower adorning the shirt...and now I really love it!  And best of all, so does Livy:)

Livy wore this to church and seemed quite pleased with herself and has since taken to bringing me her play scissors and saying, "Cut my dress, Mama" aka 'Make me another dress'!!!

On to the next!
Tiffany

Friday, January 4, 2013

Cherry Cobbler Creation


 In my parents Christmas hamper, I intended to include a custom bulletin board for my Mom's studio, decked with Stampin' Up! fabric & accessories.  Alas, it wasn't completed in time for Christmas morning and so it was just delivered today and thankfully, the recipient (BFF!) was very understanding!


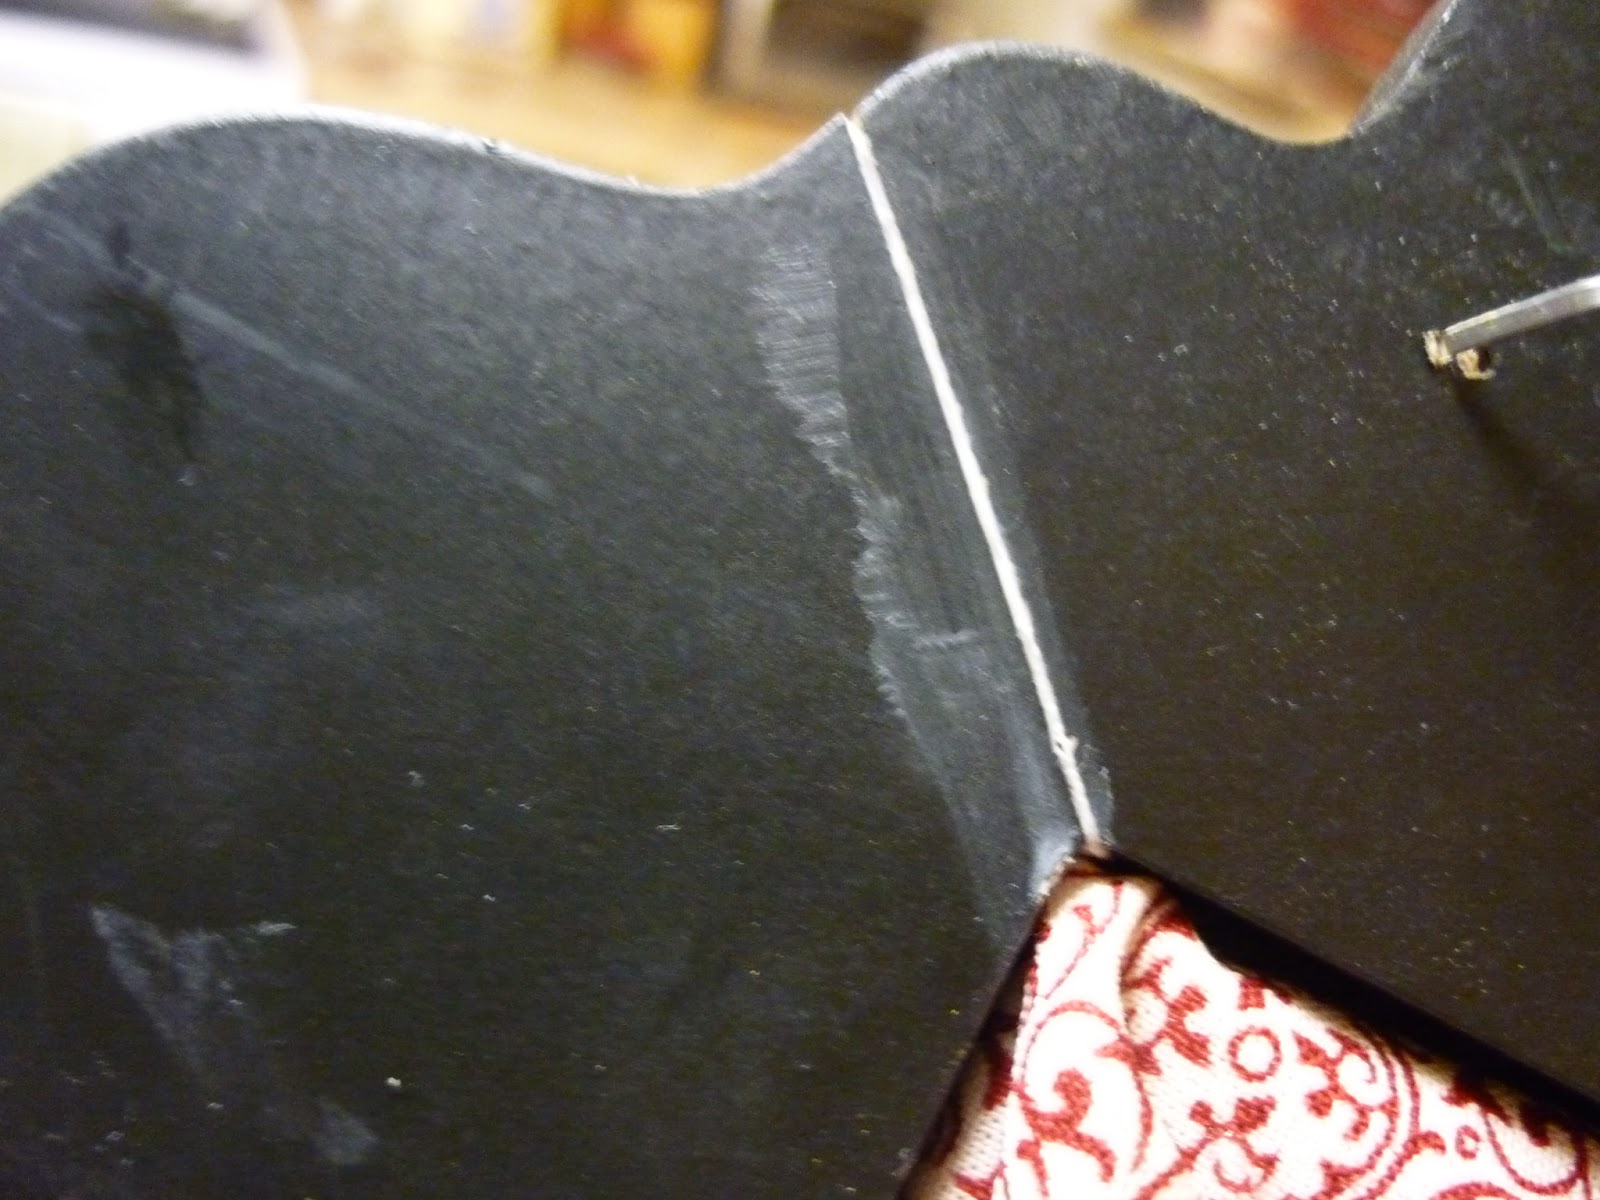
I started with a damaged frame, unexpectedly found in a back corner at Hobby Lobby...love that it mimics the 'top note'!


 I sealed up the crack with Liquid Nails, held together for a few minutes and allowed to dry overnight.


Next I picked up some cork squares and cut them to the appropriate size...


My little helper caught wind of a something fun in process and immediately & forcefully offered to "hep"!


Livy helped to cut some thick cardboard to adhere to the cork and serve as a base:)

I chose the Cherry Cobbler fat quarter from the Deck the Halls trio (just $0.99 for 3!) as it seemed appropriate for Christmas, Valentines & just everyday...


 ...ironed and cut to size...

 And then I took my handy dandy glue gun and adhered the fabric to the back of the board.


And now the fun part: embellishment:)


I created this flower using some Cherry Cobbler striped ribbon, vanilla velvet ribbon, linen fabric and the Antique brads.

I hand sewed a running stitch along the top of each ribbon & the strip of linen, cinched, knotted off and then tucked the ends under adhered together with hot glue.  Each layer was hot glued to another and then placed on a Sticky Round.  Next I wadded up & glued some vanilla velvet in the center and hot glued my brads (legs removed with scissors) on top.


And last but not least, I made custom pushpins with more of the Antique brads- cut the brad legs off with scissors and attach to the head of each pushpin with hot glue!

Hope you're inspired to make something lovely for a loved one, and in plenty of time for Valentines:)

Thanks for looking,
Tiffany

Monday, December 31, 2012

'Cue & Brew

Here's the next installment of handmade gifts included in this year's Christmas hampers: Granary Frames


I purchased these frames from the Stampin' Up! clearance rack last Thanksgiving during their blitz sale- once they arrived & I saw how gorgeous they were, I promptly ordered 6 more!  They were an incredible bargain and the nicest frames I had seen, far exceeding anything from the "M" store.


For "Mr. 'Cue"/chef, I kept the look modern & minimalist, hoping to appeal to his tastes:)  He commented on that immediately when the frame was opened & rewarded me with a huge grin- pleasing a perfectionist = priceless:)  I should know!


I love the look of the satin ribbon next to the wheat kernel...sheave...things.  I won't elaborate on how long I spent changing up the layout for this frame- it was a success & that's all that matters:)


And for "Mr. Brewmaster" I went with an aged/vintage look, hoping to appeal to his more rugged tastes:)  I took a sheet of Stampin' Up! DSP (can't remember the collection...grrr...but I loved all of it!), cut out the center and adhered with my handy dandy glue stick- Mod Podge would have worked well too, but I didn't have any on hand. 

Then I distressed the edges with a sanding block and sponged the corners/edges for additional character:)

I was so pleased with the final results and more importantly, so were 'Cue & Brew:)

Thanks for looking,
Tiffany

Saturday, December 29, 2012

The Brewmaster

Today I'm sharing the next installment of 'Granary' themed handmade gifts: Beer Cap Magnets

 You see, my youngest brother is the 'Brewmaster' of The Granary, brewing 4 house made craft beers as well as authentic root beer- it's really brewed from roots!  So, I hatched a plan to incorporate beer caps into my Christmas hampers and enlisted the help of Alex's wonderful wife, Leah- she began saving and I began planning...


These were quite fun!


I started with a dab of liquid nails (had it on hand) on large magnets (craft store) and positioned on the back of the caps (hot glue & E6000 have been noted as adhesive alternatives) and then allow to dry...for a long time...overnight.

And then I did something that I hadn't seen elsewhere- I added my cardboard spacers (there's a slight difference in height between the magnet and beer cap, thus the need for a spacer) to the back of the magnet vs in between the magnet and cap.  I found the magnet was leaving marks on my fridge when I tested them so by cutting some thick cardboard circles from the Big Shot and adhering those to the magnet backs, my fridge was protected and the magnets worked like a charm!

I also made some wine cork magnets (sorry, no pic...was in such a hurry to finish these!) using magnet sheets and my handy dandy hot glue gun- they came out really well too:)

Thanks for looking & stay tuned for more handmade gifts tomorrow!
Tiffany


Thursday, December 27, 2012

Measuring Up...

I trust that you have all enjoyed a marvelous Christmas- as you can tell, I took a wee break to fully immerse myself in the festivities and enjoyed each moment to the fullest!


And now it's time to get back to grocery shopping, cooking lasagna, washing diapers, organizing toys etc... and prioritizing my next mountain of projects:)  So while I've been mentally making some notes, I stumbled upon this wonderful free measurement chart- the vintage theme had me in a moment:)

I've been wanting a handy dandy measurement chart to keep better track of my little M's for awhile but assumed I would have to orchestrate it myself...equating to never being done since I'm not techy...at all!  I've been grinning since finding this little treasure and can't wait to fill in some measurements!

What am I planning to make first?  I think some flannel PJ bottoms and then Valentines outfits since that's just around the corner:)

Stay tuned for details on the handmade gifts I've been working on for the past month or so- they were a hit on Christmas Day and the whole family is requesting more 'handmade holiday' themes:)  Can't wait!

Tiffany

Thursday, November 29, 2012

DIY Faux Fur Boot Cuffs


Lucy & Ethel were definite trendsetters in Paris & this is by far, one of my favorite episodes:)  I love Lucy's pouty lips and aloof expression as she struts down the avenue with her new hat aka horse feed bag!  And Ethel's ruffled potato sack and champagne bucket hat are priceless!

So, one of the trends appearing all over are boots with fur cuffs- they've been growing on me, alas the price tags are not (especially for something so permanent)...

...enter DIY faux fur cuffs!

These were fun & relatively quick- I say relatively as it will depend on the faux fur you choose.  Something closer to a shearling won't fray much- my fur was molting quite badly thus I added some extra hand stitching so I wouldn't leave a trail wherever I walked!

I loosely followed this tutorial with, of course, a few tweaks & added the hemming with bias tape step from this tutorial:)
  • I didn't have any freezer paper for tracing my pattern so I used wax paper (not ideal!).
  • I hand sewed the hems (lengthwise) on each cuff due to the molting factor- really glad I took the time!

As usual, I was working on this at night while watching a Christmas movie, hence my tired & messy hand stitching- it won't show though, so no matter.  I didn't even have appropriate bias/hem tape on hand- oh well.  No one will know...except you:)


And here they are!  My DIY faux fur boot cuffs, transforming a very old & tired pair of boots into something 'new' & 'trendy'!  Too fun!

Let me know if you have any questions & let me know if you try this too:)
Tiffany


Monday, November 26, 2012

DIY Shoe Reashion

Yeah!  I just completed my first shoe refashion & I'm so excited- it worked!


I was inspired by this DIY post and after finding the perfect pair of heels at Goodwill over Thanksgiving weekend, I couldn't wait to try this out!


I've been wanting some 'low & pointy' heels for a while...who knew they were orphaned & waiting for me at Goodwill?  And they weren't even paired...I had just about given up hope when I finally spotted the 'twin' across the store!

The shoes were exactly the style I was wanting & in good shape on the outside, however, they were looking a bit fatigued around the inner seam...


...and wanted to prolong their life for as long as feasibly possible, a plan of rebirth was hatched:)

So, heels in tow, I purchased some bias tape to achieve a more neutral & monochromatic look as opposed to the inspiration pair.  I went with khaki bias tape which should work well year round:)

I followed the tutorial (it's great!) with just a few tweaks:
  • I used 1/2 inch bias tape only vs 1/4 + 1/2 inch- there had obviously been a run on the 1/4 inch khaki bias tape, leaving me with no other option!
  • I made my bow a bit smaller based on scale 


Tip: less is WAY more with fabric glue.  I'm no connoisseur of fabric glue but mine seems to be a bit gloppy and so I ended up with my first shoe resembling the above, and then promptly redid it!


 I found that a light smear of glue was all the bias tape could handle before leaking through to the other side...patience...breathe...

Ha!  That's a laugh!  I got a bit antsy as I was trying to get this finished before tucking Livy into bed so there are a few little spots of glue peeking through- hoping they'll dry completely????

 Also, I found using my handy dandy little clip magnets made clamping my bows a breeze!

Snapping pics at night- pardon the horrendous lighting!

 So in approx one hour, I had a brand new pair of shoes!  And it really was pretty easy:)

Refashion Cost:
Shoes- $7.99
Bias Tape- $2.29
Glue- free (already had it in my growing stash!)

Total cost= $10.28!!!  And what I love most is that these are unique and I won't feel badly about replacing them a ways down the road:)

Thanks for stopping by,
Tiffany

Wednesday, November 21, 2012

Thanksgiving Fall Wreath

As promised, here is part 2 of my last minute Thanksgiving decor: a fall wreath....waiting to be hung!  Who doesn't love fall leaves & this wreath comes together in less than 30 minutes!


I nabbed some card stock leaves (LOVE the glimmer paper!) from Sweetstamper, assigned to the 'scrap pile' as many of them were missing a tip or two...


...then Livy & I crinkled and sponged them- she loves to "stam" aka "stamp"!


The elements were affixed to a grapevine wreath (Goodwill) with my handy dandy hot glue gun and ta da!


Total cost for this project: $0.99 for the wreath & it was a great activity for Livy & I to share:)

Check out this handmade Thanksgiving card made with the same fall leaves, courtesy of the Autumn Accents Sizzix die & Big Shot:)

Happy Thanksgiving and enjoy celebrating this special day!