Pages

Showing posts with label DIY Minnie Mouse Pinata. Show all posts

Wednesday, May 21, 2014

Olivia's Minnie Mouse Soiree- Part 3

Welcome to the last installment of Olivia's 4th birthday celebration-
here is Part 1 & Part 2.


With little tummies full, guests headed outdoors to play...


....and it appeared they were all having a great time:)  Bonus!


I love this picture of Scarlett...


...sliding into Daddy's arms:)


The birthday girl was thrilled to have so many playmates...


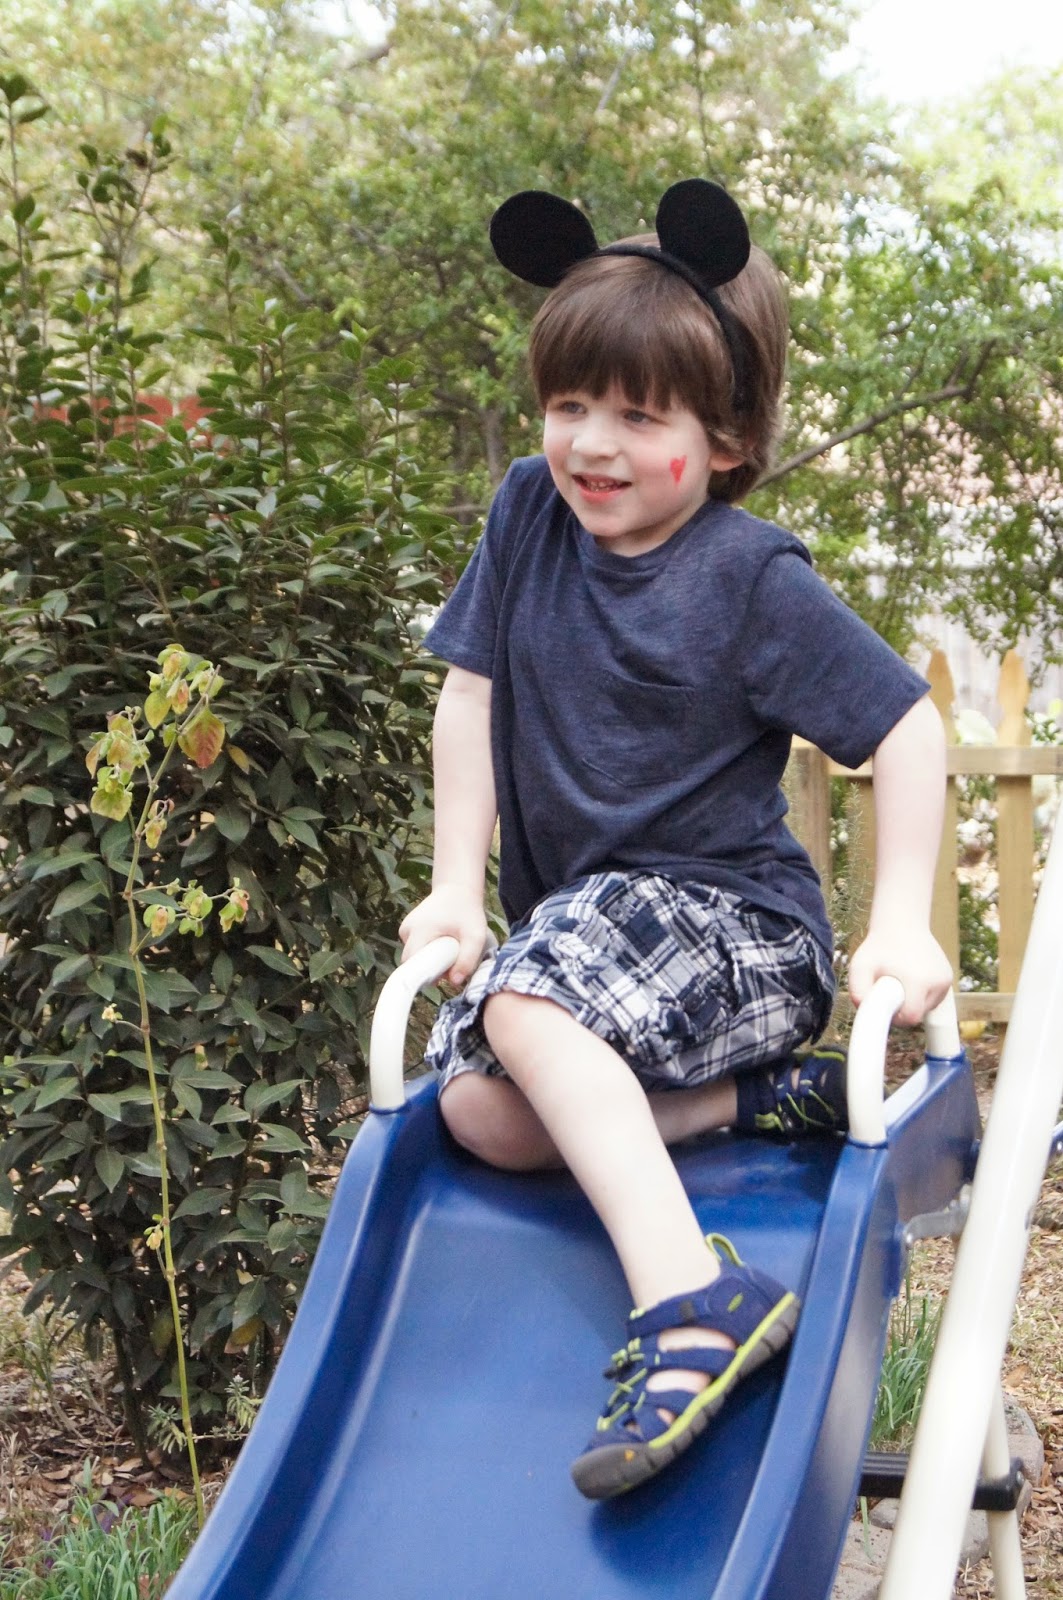
...and so was Jonah:)


And last but not least, it was time for "Minnie",
 my first ever homemade pinata, to make her appearance:)


The birthday girl was up to bat first...


...and with a calculated aim...


...swung with all her might...


...and then paused as a lollipop came flying out!


Here is Hope ready to give "Minnie" a jostle:)


For some reason, Jonah seemed reluctant to hit "Minnie"...


...so he gave her a love pat:)


 Then Jude was up and showed everyone how it's done!


Daddy Brian stepped in to retrieve the bat...


...so that Kellan could take a whack...


......which he did with great gusto!


And then Rose came flying over to do her bit of damage &
 kept pausing as sweets came trickling out:)


Finally we asked "Uncle Brian" to do the honors...


...and the troops swarmed in to retrieve their treasure:)


 Many little hands...


...were set in motion...


...and sometimes paused, like Jonah, for a lollipop:)


Every last sweet was retrieved and stowed away...


...including the last lollipop, Livy's favorite sweet:)


This day was so special as friends & family gathered with us...


...but was especially sweet as "Aunt Tole"...


...and Uncle Timmy were able to be with us...


...as well as having the help of "Auntie Yeah" & Uncle Alex...


..and the momentous help of Gramma & Granddaddy!


Everything combined made Olivia's 4th birthday special & meaningful:)


We were all pooped by the end, but so very happy & blessed!


And seeing Hope hopscotch over the chalk Minnies on her way home was a real bonus!


A huge thanks again to my dear friend,Carolina for taking most of these pictures:)

A great success & I can't wait for the next party!!!

Details:
Decor- handmade by moi (pom poms + topiary + pennants+ party plates)-
 the Minnie pennant in the kitchen was a free printable).
Sweets- homemade by me (marshmallow pops + oreo pops + cupcakes + cake)- 
Gramma made the caramel popcorn:)
Olivia's ensemble- handmade by me (shirt + skirt)
Favors- handmade by me (favor bags + ears + coloring books)
Pinata- homemade & my 1st ever attempt!
Face Paint- homemade

Thanks for following our Minnie Mouse journey- back to some crunchy posts now!
Tiffany

Friday, March 7, 2014

DIY Minnie Mouse Pinata


See this?


Well, it was created to form the base for my first ever DIY pinata!


I can't believe it but our special girl will be turning 4 in just a few weeks...sigh....


...and she recently became interested in pinatas after watching a Curious George episode...


...so after some pinterest searching, I came across this tutorial from a fellow DIY loving Mom
 and tweaked it a bit.

Here's my version:

Supplies:
White foam board (Dollar Tree)
Black Crepe Paper (Dollar Tree)
Mailing Tape
Craft Glue
Red Polka Dot Ribbon
Hot Glue Gun


I started with white foam board from Dollar $ vs the Huggies diaper box in the linked tutorial- I wanted my Minnie head to be larger than my diaper box would allow.


I used some pot lids to form the circles and cut with scissors, twice for 2 bases- 
a craft knife would have been much easier with the foam but I couldn't find ours:/


Next I unearthed a box that had just the right width to form the sides (thank you previous house owner)-
 it even came with the perfect window for stashing the loot!


I opted to use a flange of cardboard to secure the side piece of the pinata to one of the bases- 
it may have taken a bit longer vs the linked tutorial as I snipped along the flange to ensure proper curving 
but it worked well and seemed appropriately secure.


Here is the side, completely attached at intervals with strips of mailing tape-
 I did roll the box piece along the edge of my dining room table to loosen it up:)


And here is the second base attached on the outside at intervals with mailing tape.  
At this point, the kids & I were quite excited:)

TIP: This is the time to make the holes for the wire to suspend your pinata!


 Next I ran lines of craft glue along the top & sides and pressed in black crepe paper to seal the edges...


...which worked like a charm- this also hid the wire holes.
FYI, I opted to skip the black tissue paper step from the linked tutorial.


Then I tackled the ears, covering the center with a crepe "rosette", all adhered with craft glue.

TIP: By pinching the crepe as its placed on the lines of glue, it forms a ruffled appearance.


  After both ears were filled in, I tackled the "face" and then repeated on the opposite side.


 Lastly, I pressed the crepe paper along the sides
 and then created a ruffle down the center to hide the seam (photo of ruffle not shown).


And now the pinata is ready for loot!
I bought everything at Dollar Tree & Big Lots.


The birthday girl has a special affinity for lollipops
 so I included 2 bags of Dum-Dums & 1 bag of heart lollipops, sure to please:) 


I left a smidgeon of room at the top of the pinata...


...and then hot glued a bow on "Minnie"!

I'm really chuffed about this project and only regret procrastinating about it so long:/

Even with poorly little Ms, I was able to get this done in one day 
with Jonah handing me strips of tape & Olivia sorting the loot:)

Cost:
White Foam Board: $1 (Dollar Tree)
Black Crepe Paper: $1 (Dollar Tree)
Box: free
Adhesives & ribbon: free (my stash)
Loot: $13 (Dollar Tree/Big Lots)
Total Cost: $15

Another successful pinterest party DIY project in the bag!  
And speaking of bags, next I'll share the favor bags in progress:)

Thanks for stopping by,
Tiffany