Pages

Showing posts with label DIY Minnie Mouse birthday party. Show all posts

Wednesday, May 21, 2014

Olivia's Minnie Mouse Soiree- Part 3

Welcome to the last installment of Olivia's 4th birthday celebration-
here is Part 1 & Part 2.


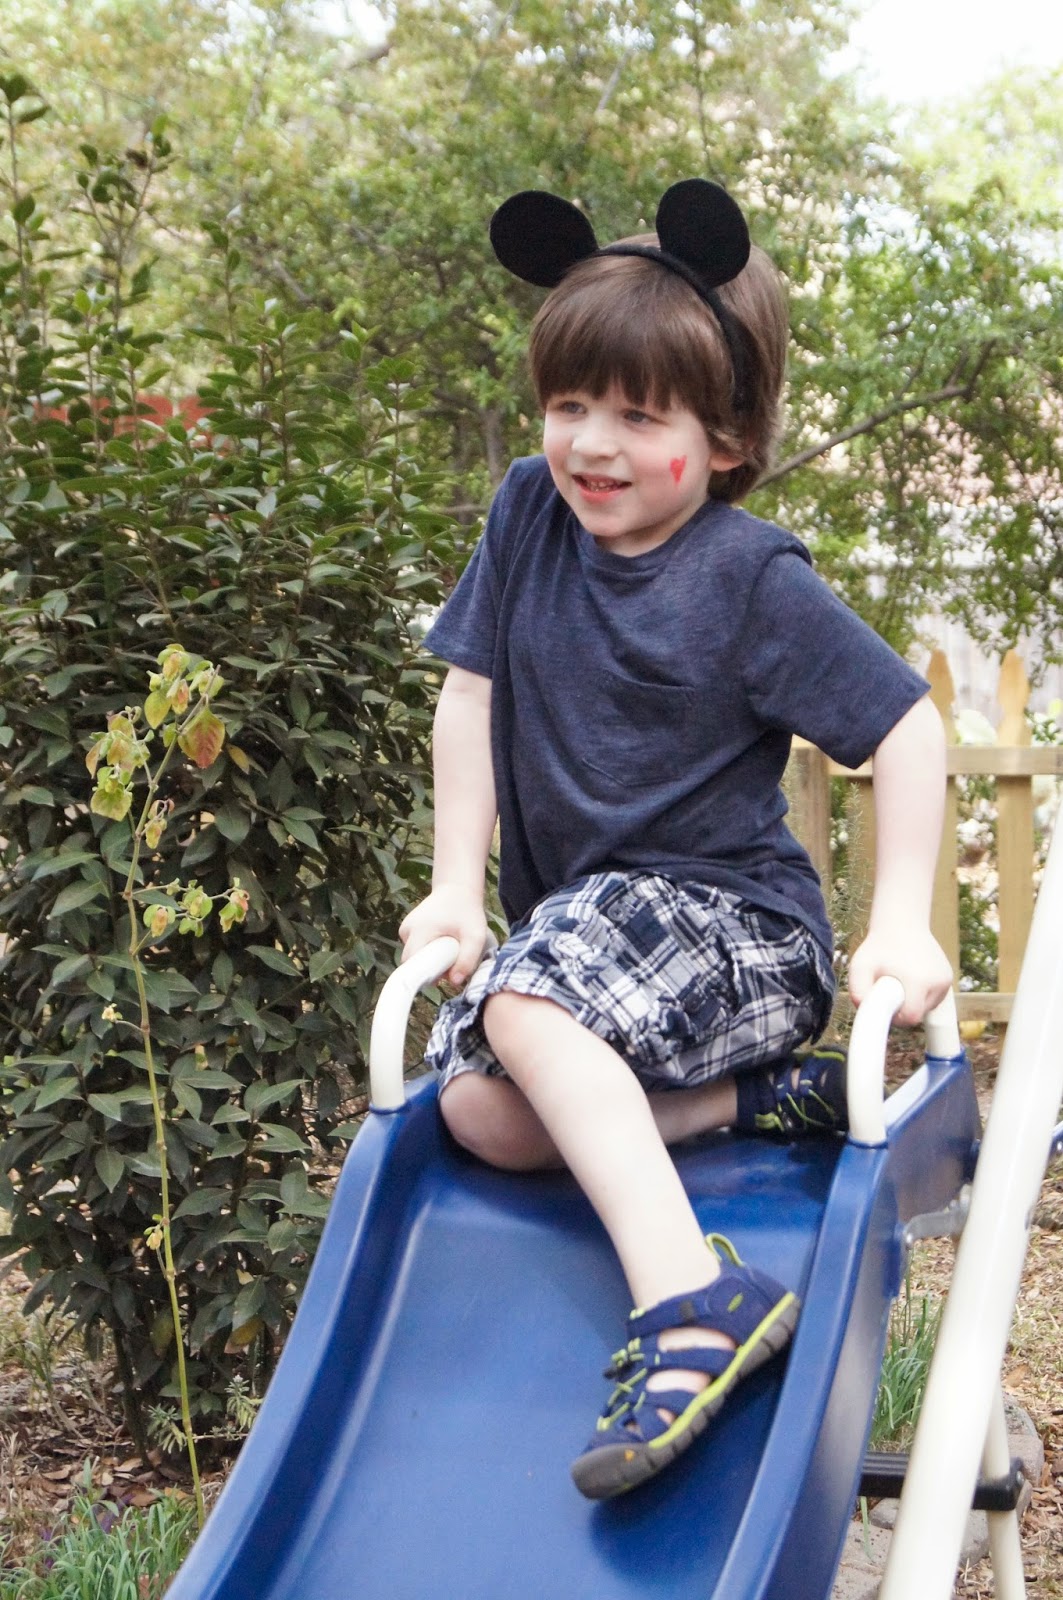
With little tummies full, guests headed outdoors to play...


....and it appeared they were all having a great time:)  Bonus!


I love this picture of Scarlett...


...sliding into Daddy's arms:)


The birthday girl was thrilled to have so many playmates...


...and so was Jonah:)


And last but not least, it was time for "Minnie",
 my first ever homemade pinata, to make her appearance:)


The birthday girl was up to bat first...


...and with a calculated aim...


...swung with all her might...


...and then paused as a lollipop came flying out!


Here is Hope ready to give "Minnie" a jostle:)


For some reason, Jonah seemed reluctant to hit "Minnie"...


...so he gave her a love pat:)


 Then Jude was up and showed everyone how it's done!


Daddy Brian stepped in to retrieve the bat...


...so that Kellan could take a whack...


......which he did with great gusto!


And then Rose came flying over to do her bit of damage &
 kept pausing as sweets came trickling out:)


Finally we asked "Uncle Brian" to do the honors...


...and the troops swarmed in to retrieve their treasure:)


 Many little hands...


...were set in motion...


...and sometimes paused, like Jonah, for a lollipop:)


Every last sweet was retrieved and stowed away...


...including the last lollipop, Livy's favorite sweet:)


This day was so special as friends & family gathered with us...


...but was especially sweet as "Aunt Tole"...


...and Uncle Timmy were able to be with us...


...as well as having the help of "Auntie Yeah" & Uncle Alex...


..and the momentous help of Gramma & Granddaddy!


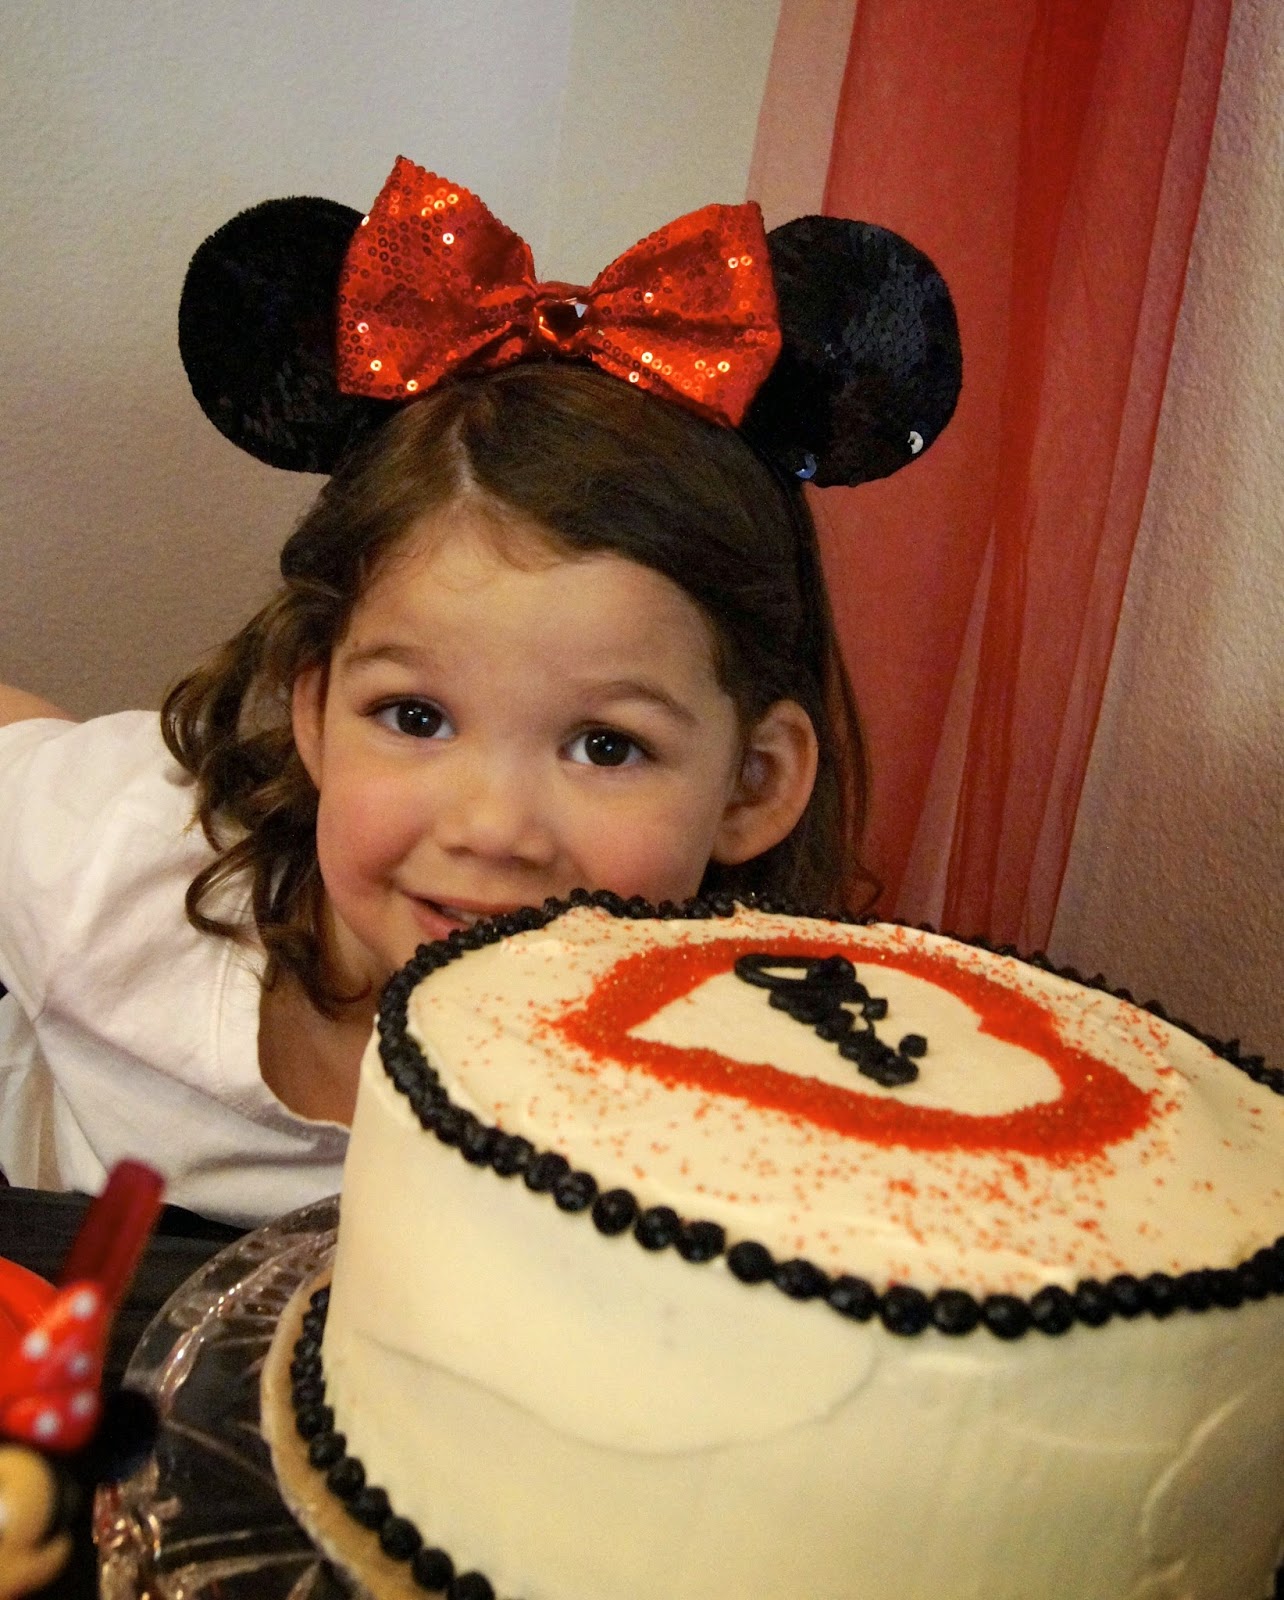
Everything combined made Olivia's 4th birthday special & meaningful:)


We were all pooped by the end, but so very happy & blessed!


And seeing Hope hopscotch over the chalk Minnies on her way home was a real bonus!


A huge thanks again to my dear friend,Carolina for taking most of these pictures:)

A great success & I can't wait for the next party!!!

Details:
Decor- handmade by moi (pom poms + topiary + pennants+ party plates)-
 the Minnie pennant in the kitchen was a free printable).
Sweets- homemade by me (marshmallow pops + oreo pops + cupcakes + cake)- 
Gramma made the caramel popcorn:)
Olivia's ensemble- handmade by me (shirt + skirt)
Favors- handmade by me (favor bags + ears + coloring books)
Pinata- homemade & my 1st ever attempt!
Face Paint- homemade

Thanks for following our Minnie Mouse journey- back to some crunchy posts now!
Tiffany

Tuesday, May 20, 2014

Homemade Triple Layer Devil's Food Cake

It should be clear by now that I LOVE to plan parties!  
And after deciding on a theme, I next tackle the cake! 


After all, what would a birthday party be without cake?!!!


Complete with special candles to blow out!


So for Livy, I made a triple layer Devil's Food cake:)


 This cake starts with cake flour...


...and if you don't have any on hand, you can make it!
2 Tbsp Cornstarch + 7/8 cup AP Flour= 1 cup Cake Flour 


You will also need some good chocolate.

Let's get started!

Recipe: Triple Layer Devil's Food Cake
Source: Cooks Illustrated

Makes three 8-inch cakes

Regular, or natural, cocoa like Hershey's can be used with good results, though the cakes will bake up a bit drier, redder, and with slightly less chocolate flavor.

Ingredients

  • 4 ounces unsweetened chocolate, chopped
  • 1/4 cup Dutch-processed cocoa powder
  • 1 1/4 cups water (boiling)
  • 3/4 cup unbleached all-purpose flour
  • 3/4 cup cake flour
  • 1 teaspoon baking soda
  • 1/4 teaspoon table salt
  • 8 ounces unsalted butter (2 sticks), softened, plus extra for greasing pans
  • 1 1/2 cups packed dark brown sugar
  • 3 large eggs, room temperature
  • 1/2 cup sour cream
  • 1 teaspoon vanilla extract

Instructions

1. Adjust oven rack to upper- and lower-middle positions; heat oven to 350 degrees. Meanwhile, grease three 8-inch cake pans with butter and line bottom of each pan with parchment paper round. Combine chocolate and cocoa in medium bowl; pour boiling water over and whisk until smooth. Sift together flours, baking soda, and salt onto large sheet parchment or waxed paper; set aside.


2. Place butter in bowl of standing mixer and beat at medium-high speed until creamy, about 1 minute. Add brown sugar and beat on high until light and fluffy, about 3 minutes. Stop mixer and scrape down bowl with rubber spatula. Increase speed to medium-high and add eggs one at a time, beating 30 seconds after each addition. Reduce speed to medium; add sour cream and vanilla and beat until combined, about 10 seconds. Stop mixer and scrape down bowl. With mixer on low, add about one third of flour mixture, followed by about one half of chocolate mixture. Repeat, ending with flour mixture; beat until just combined, about 15 seconds. Do not overbeat. Remove bowl from mixer; scrape bottom and sides of bowl with rubber spatula and mix gently to thoroughly combine.


3. Divide batter evenly among cake pans, smooth batter to edges of pan with rubber spatula. If baking three 8-inch cakes, place two pans on lower-middle rack and one on upper-middle rack. Bake until skewer inserted in center comes out clean, 20 to 23 minutes for 8-inch cakes. Cool on wire rack 15 to 20 minutes. Run knife around pan perimeter to loosen. Invert cakes onto large plate; peel off parchment, and reinvert onto lightly greased rack. Cool completely before icing.

  
To ice this cake, I used a cream cheese frosting which was perfect:)


FYI, the cake can be frozen beforehand- 
defrost at room temperature, uncovered for 1-2 hrs & then ice!


Here is Livy digging into her slice...


...and as you can see from this chocolate cake smile, 
the birthday girl was pleased!


Happy baking & thanks for stopping by,
Tiffany

Monday, May 19, 2014

DIY Minnie Mouse Coloring Book

For Olivia's 4th birthday, 
I opted to make a small favor in addition to the pinata goodies & "ears"-
custom Minnie Mouse coloring books!


These were easy & just took a little time to compile:)


I began by printing some free coloring pages...but notice that offending line of text at the top of the page... 


...it disappeared with some handy dandy white out!


And after cropping the pages to fit a 6x6 album cover, I scored each page to fold easily.


I then hole punched everything with the Crop-a-Dile & scored the cover.


I used white yarn to tie the book together...


...in bows, of course...


...and added the last touch: 
a giant M using Dollar Tree fun foam & cut on the Sizzix Big Shot!


I bundled crayons using the same white yarn to accompany the books:)
 Cost:
Coloring pages- free
Printing- free (I had credit on a copy card!)
Cardstock, yarn & fun foam- free (from stash)
Crayons- $2 (Dollar Tree)
Total Cost: $2 for 14 favors


My little Ms have enjoyed their little custom Minnie Mouse books
 & hopefully our young guests did too:)

Thanks for stopping by,
Tiffany