Back to Livy's Minnie Mouse party preparations...
...DIY Ears!
Let me start by saying this project isn't difficult; just a bit tedious.
I started by looking at this tutorial from a fellow Mom & used it as my guide.
Ideally, I was looking for black headbands to negate the need to cover each band
but couldn't find them in packs so I settled for these multicolored packs of 6 from Dollar Tree.
We had already bought the "special" sequin ears for the birthday girl
before I decided to delve into this project:)
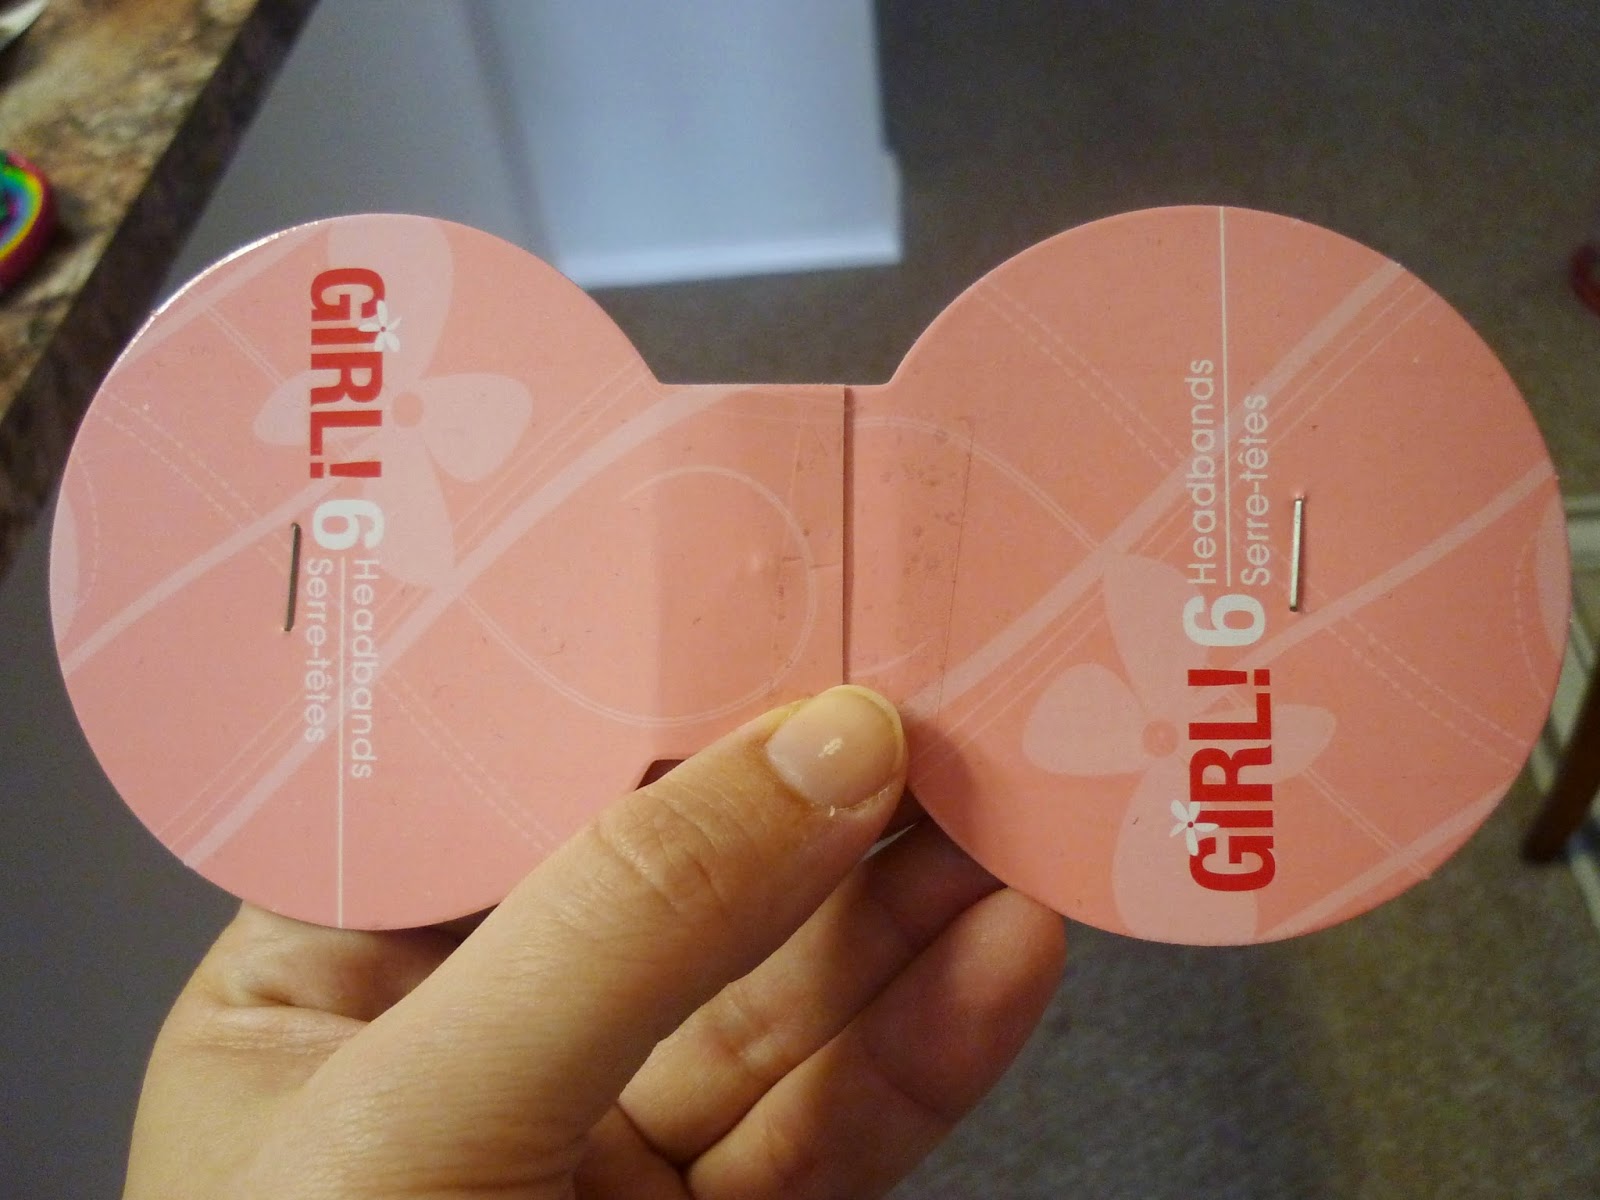
I already had the black felt, red polka dot ribbon and my handy dandy hot glue gun on hand, so the first step was to make a pattern for the ears...
...I found using the headband covers, taped together, formed a great pattern-
one less thing to make from scratch!
Next I traced the pattern onto the black felt.
I can also attest that sidewalk chalk will work in a pinch;)
Now it's time to cut the felt strips to cover the headbands-
approx 2.5 times the width & add an inch to the length.
TIP: a rotary cutter works so much better than scissors for this step!
Grab some fun foam (or a cereal box!) and cut circles slightly smaller than the ears-
these will reinforce the ears & help them stand up:)
Get your glue gun ready and adhere the cardboard circles to the ears-
I just used one circle per "ear".
Next adhere the ears together, leaving some room at the bottom to slide onto the headband before being permanently attached.
Time to cover those headbands, the most tedious part.
I started at one end and gradually added beads of glue along the outer spine,
pressing the felt in place to smooth the glue.
Then do the same for each side of the felt,
overlapping and smoothing, running the glue to the end of the felt-
clip off the ends, even with the headband, for sealed edges.
Finally slide the ears in place and add beads of glue at the base, pinching & pressing.
If you're making Mickey ears, you're done.
Otherwise, make a bow and attach in place for Minnie:)
I made a dozen and called quits but I'm glad I made the effort...
...the birthday girl was pretty happy...
...and so was our 'Mickey'!
Thanks for stopping by,
Tiffany


The way you made the pattern was...brilliant!
ReplyDeleteThe way you made the pattern was...brilliant!
ReplyDelete