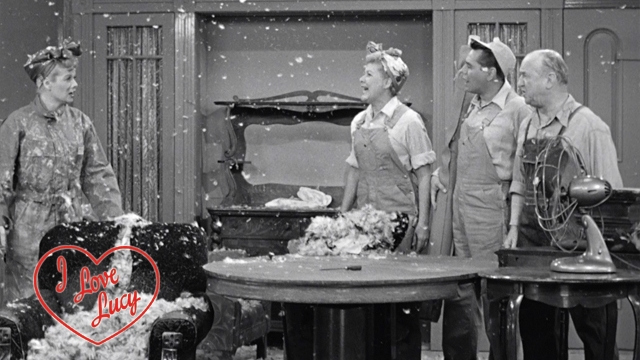
In "Redecorating the Mertz's Apartment", Fred flatly refused to give up his worn but "comfortable" furniture, thus Lucy hatches a plan to reupholster Fred's chair, "stuffed with feathers"...it doesn't go well, as seen above:)
So, in the spirit of "Tight Wad" Mertz, we opted to do a DIY makeover on the ceiling fans in our new home vs buying all new ones...
Eeek! The first step was to frost those tacky glass shades...
...so I picked up a can of Krylon Frosted Glass spray paint and Granddaddy generously held his breath while spraying away...
...and they came out beautifully! I was amazed:)
Next, the fan blades were kept in the order they were removed from the fan so we wouldn't have balance issues when reassembling...we also switched them over to the dark wood finish from the dated oak.
Next we took out this bad boy to tackle the overwhelming brass...
...and again, Granddaddy sprayed away...
...transforming the dated brass hardware...
...to a hammered silver- much better:)
And once reassembled, our dated brass ceiling fan looked modern...
...and gave off a lovely cozy, glow that evening:) "Ricky" was amazed at this transformation and although it took a bit of ladder balancing and looking for miniature washers on the carpet...it was well worth it, thanks to Granddaddy!
Cost:
Ceiling fan- free
Spray Paint- <$15
TOTAL- $8 approx (we have enough spray paint to do another fan!)
And stay tuned to see how this bit of wood transformed our living room:)
Thanks for stopping by,
Tiffany


How did you keep spray paint out of the "vent" area of the fan? Our ceiling fan looks similar to this, but I don't know how you kept the paint out of those "vents". Thank you!
ReplyDeleteWe did the same type of thing, only we also painted the blades. My husband, who is slightly handy, took the whole "motor housing" apart. He said it was very easy, just make a simple drawing identifying where all parts go when putting back together. I painted the "vent" part and he was able to clean dust off the working parts and tighten any screws that had come loose. We have an unbelievably gorgeous new fan with just a little bit of money and some elbow grease! Our fan is black and "paper bag" color! Also, there aren't a lot of choices "down below" to publish my comment! How about just my Pinterest account? Debby (Brandon) Wilson-Eppling
ReplyDeleteI love it! I am a new blogger and have been trying to redecorate on a budget, and once my husband gets over the bathroom renovation, we may have to tackle the bedroom ceiling fan! Check out my blog :) http://amazinglifemidlifeedition.blogspot.com/
ReplyDeleteThanks for your comments- sorry for the late response. We just added Baby #3 to our family so I've been neglecting the blog juggling our 3 y/o, 2 y/o & baby:)
ReplyDeleteDebby, sounds like you did an awesome job on your fan- congrats!
Kathy, I'll be sure to check out your blog too- thanks for hopping over:)
Wow! Congrats on the new baby. I am staring at the exact same fan in my bedroom that my now exhusband installed while i was at work one day. God love him, it's hideous. I've been thinking about converting the light shades to one small shade. I actually don't use the light part but can't sleep without the fan after March.
ReplyDeleteWow! Congrats on the new baby. I am staring at the exact same fan in my bedroom that my now exhusband installed while i was at work one day. God love him, it's hideous. I've been thinking about converting the light shades to one small shade. I actually don't use the light part but can't sleep without the fan after March.
ReplyDeleteThis is awesome!! What kind of paint did you use on the blades?
ReplyDeleteNikki, I would love to see how you convert your own "hideous" fan! And Mystic Garnet, the blades are original and untouched- we just turned them over to the espresso side from the oak color. Hope that helps!
ReplyDeleteThat is a Hampton Bay Huntington III
ReplyDelete