Pages

Wednesday, October 31, 2012

Fall Ensemble for Under $10!


So, I haven't posted much lately and it's not because I've had idle hands, just no time to share!

Here is an ensemble I just completed for Livy; 1/2 yard of fabric, T-shirt and notions and here we go!


First, I made a large flower using 2 hemmed/gathered circles of a fine whale corduroy print that I picked up at Hobby Lobby- fallish without being too pumpkiny:)  I cheated, attached the two pieces with fabric glue.


Next, I tried out a new idea: using a snap to affix the main embellishment for easier washing & versatile wearing- worked like a charm.
NOTE: since the flower is so large, it droops a bit with just the one snap so I plan to add another one or two for extra security:)


I also tried out some cuffs on the shirt (Land's End clearance!) that really tied the whole thing together:)


For the skirt, I attached 2 sides (right sides together) with a straight stitch and then zigzagged the edges (upper right pic). I ran a small zigzag along the bottom edge of the skirt 'tube', turned under and then hemmed with a straight stitch (upper left pic). 

NOTE: I like to add a second line of stitching at the base to give better weight.


For the waist, I did another zigzag along the edge, turned under and sewed along with a straight stitch, leaving a gap to insert the elastic.  Feed through with a safety pin, sew ends together (be sure to reinforce this!) and then sew closed 'the gap'.  Instant ruching- love elastic waists & Livy loved all the free movement!

Every ensemble should have a matching hair accessory:)
Hair bow ingredients: hemmed fabric circle (gathered in the center with a basting stitch), hair clip, threaded button, felt circle and a handy dandy hot glue gun!


During a Nutella snack, Livy insisted on trying on her new hair bow and was quite chuffed with it:)
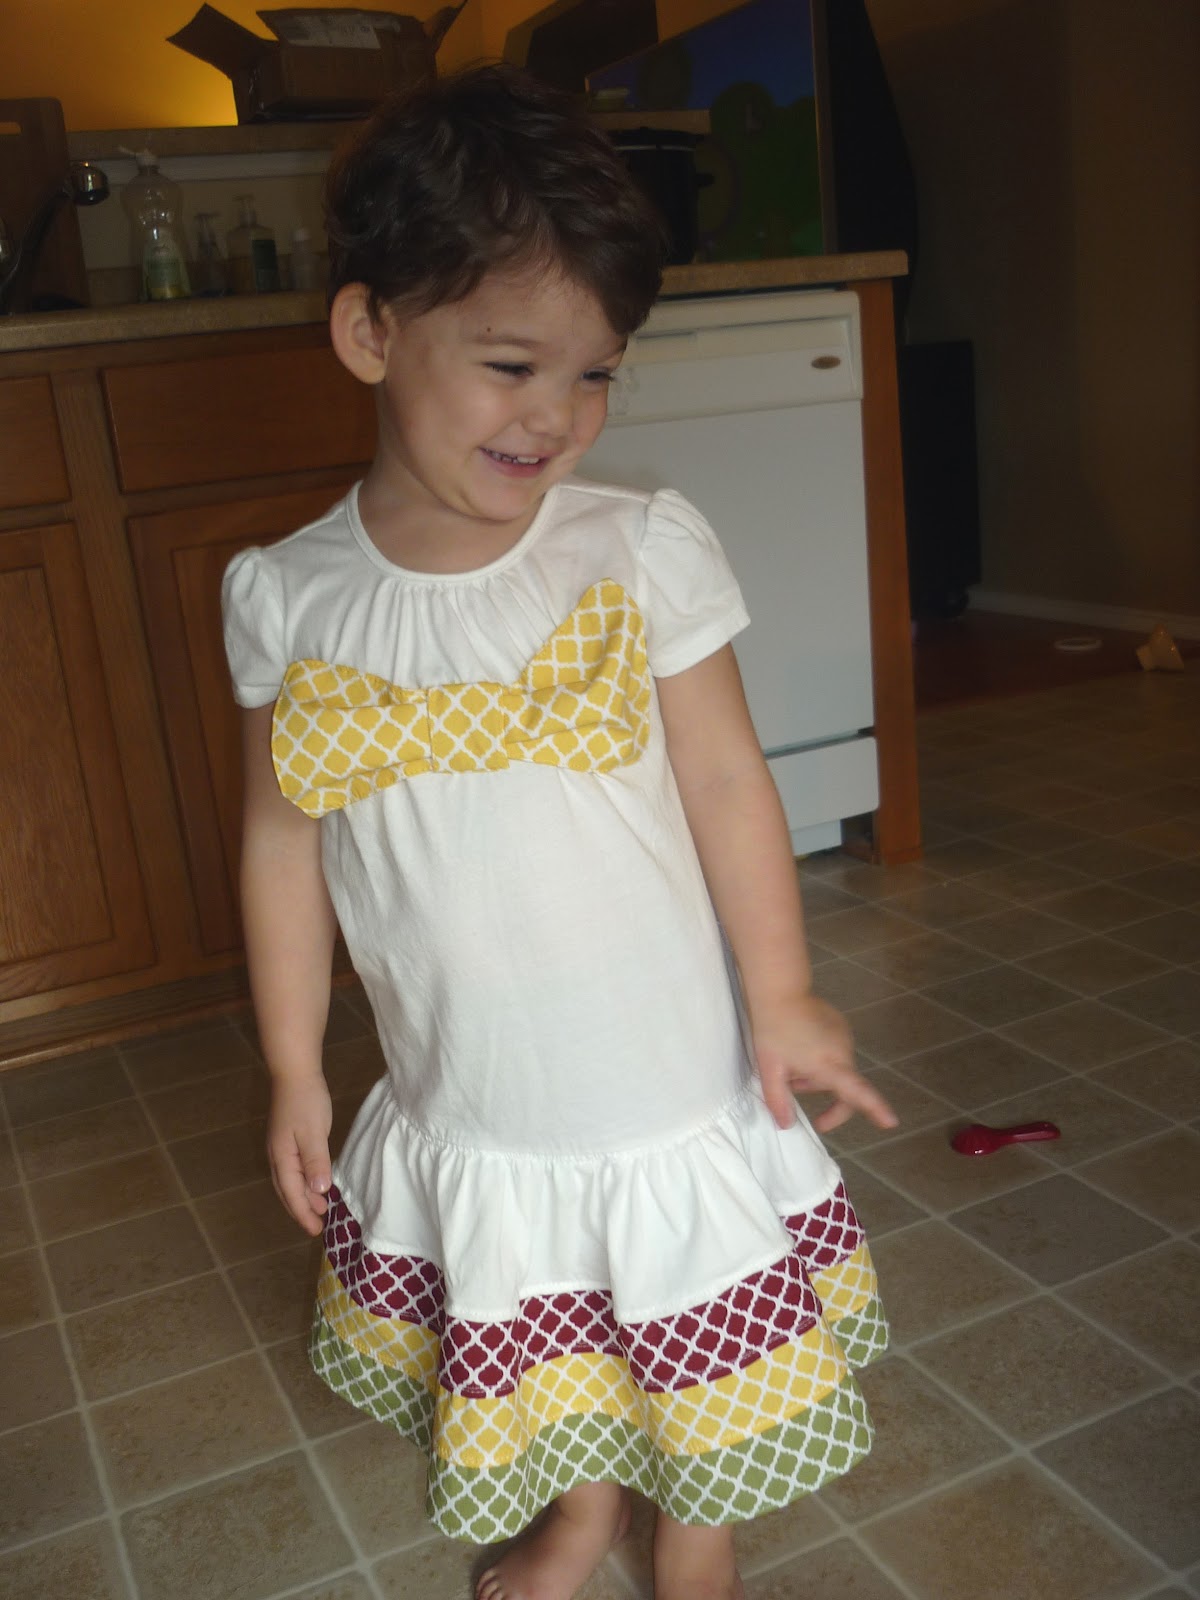
So here it is, minus my model!  Was holding off on posting this, hoping for a great modeling pic, but since I've yet to achieve that, I decided to go ahead and share- will hopefully grab a pic of Livy twirling in this sometime this week...she loves the skirt...just won't stand still in it!


Still toying with adding some rick rack to the bottom of the skirt...what do you think???

Let me know if you have any questions- I realize I kept the instructions brief:)  Great beginners project- no pattern needed and minimal measuring of wiggly children:)

Cost:
Corduroy fabric (Hobby Lobby): $3.60
Elastic/buttons/hair clip/snaps: $1
T-shirt (Land's End): $4.99
TOTAL: $9.59

Thanks for stopping by,

Tiffany

Saturday, October 27, 2012

"Cash Only"


So this week, hubby & I had another "battle of the budget" chat and for the 1st time are moving to a "cash only" system.  Long story short, things have always been tight, but as we've learned, they can usually get tighter:)  Groceries are an obvious place to adjust and since I love to cook and the Ricardos love to eat, we find ourselves contemplating a new system...  So as of next week, just like Lucy, I'll be given my 'housing allowance' and won't have the option of dipping into any 'club treasury' for help!

I'm quite excited about this challenge as I've been wanting to mimic Lucy in this area (I'm a true 'Lucy' purist, people!) and I actually like the idea of a firm boundary line...we'll see if I'm liking it a month from now! Historically, Lucy would be buying a hat with all the money she saved but I plan to enrich my crafting stash or buy something for my little Ms...if I have anything left!

You see, in our home, I do the cooking.  Period.  And I love it:)  I love the creative challenge and as Sweetstamper says, "There are more things to try than time".  It's not that 'Ricky' can't cook, it's just that I don't fancy having 5 lbs of rice cooked every time he greets the cooker!  However, if you do ever need a pile of fluffy Basmati rice, you know who to call:)

I'm determined to make this "cash only" budget work and one of the ways is to NOT allow 'Ricky' anywhere near the kitchen...or the rice:)

Look forward to sharing tips for success!

Tiffany

Thursday, October 25, 2012

Fishies!

  I'm so honored to be sharing a special project over at Sweetstamper's blog today- hop on over to check out my "fishies"!!!

Thanks for looking,

Tiffany

Monday, October 22, 2012

Squeaky Clean Dishes- Part 2

 So, here at the "Ricardo's" we've been using my homemade dishwasher detergent for the past 2 months and love it, with just one minor gripe- the silverware isn't sparkly.  When using Cascade & Finish, the silverware was looking mottled & gray so I figured, big deal when they weren't shiny with my homemade stuff. 


However, I sat down and did a little research about how to remedy this.  The answer- more acid.  It would appear that silverware need more acid (in our case, citric acid) to produce more shine.

I was making up a new batch this past week and decided to up the original amount of citric acid at 3 tbsp to 5 tbsp (what I had on hand) & see what happened...the first few washes seemed marginally better but after a week, I've noticed the cutlery looking consistently better so I'm sold!

I might try 6 tbsp in the next batch so it's a simple 'doubling' of the original amount...

TIPS:
  • With more acid in your detergent, it clumps more easily.  Try leaving it out (open) for a day or so and stir a few times- much of the extra moisture is evaporated this way.
  • Avoid spilling powdered detergent directly on the cutlery before running the dishwasher- evidently a reaction takes place to dull the silverware.  This was news to me....

And last but not least, I discovered that the distilled vinegar is not compatible with the rinse port- the plastic parts within can wear out more quickly.  Solution?  Place some vinegar in a small container on the top rack and let it do it's job, uninhibited:)  I've been doing this all week and I feel my glasses are looking even better!

Hope these tips help you maintain squeaky clean dishes, while going green!

Tiffany

Sunday, October 21, 2012

Festive Fall Leaves


There are so many things that I love about the fall, and among those are fall leaves.  Crunching, cascading, these little gems are a treat as they float by in the blustery breeze...aahhh.

Unfortunately, there's not a lot of gorgeous fall foliage to be had here in south TX at present, so I made my own falls leaves- sugar cookie leaves:)


And before you start thinking, "That's too much work for me...", let me assure you that I'm not super Mom and sometimes I cheat.  For example, I opted to use the Betty Crocker sugar cookie mix- they're almost as good as 'from scratch' sugar cookies and since they save a bit of time (that I would prefer to spend on decorating!), I used the mix!


Like I said, the decorating is the really fun part and for that you need a yummy glaze.  I'm afraid I don't measure anything when I make frosting/glazes but here's a rough idea:

1 tbsp butter (melted and cooled slightly)
dash of vanilla
powdered sugar (approx 4 cups)
milk to form desired consistency

TIP: If your glaze is lumpy (by not sifting your powdered sugar like moi!), no worries- once the sprinkles are in place, no one will know!


In this batch, I included oak leaves (my faves)...


...maple leaves...


...and acorns. I got the cookie cutters at Sur La Table (drool...) as they're very reasonable and they have a fabulous collection!  So worth a a trip to La Cantera!


Even added some sparkly yellow glaze to the stems:)

I never pay full price for cookie/cake decor- check your clearance spots and save!  Makes for even sweeter baking times:)

So now it's your turn to make some sweet fall leaves!  Have fun baking and get the kids involved- Livy had a blast "hepping" and had even more fun eating them!  Jonah issued no complaints either:)

Thanks for stopping by,

Tiffany

Saturday, October 20, 2012

Craving Chinese


See Lucy's look of excitement?  That's how everyone in my family feels about good Chinese food!  My Dad birthed a love for Chinese food in all of his children and if our spouses weren't in love with all things smothered in hoisin before we met them, they have quickly become so:)

Our favorite family Chinese restaurant closed several years ago (still shedding silent tears...)- the best tofu I've ever had, fried rice, baby bok choy, hunan vegetables, orange beef..."Ahhh!  My baby, my baby!"

Since then we've scouted out several places, but none to match the caliber & excellence we experienced at Wah Kee....

I was driving down Fredericksburg Road the other day and noticed, again, a small sign stating: 'Lai Wah'.  I like to see actual Chinese characters on Chinese eatery signs (better chance of authentic food choices) so I was delighted to see the name in Chinese too!

After reading lots of great reviews, I mentioned to my Dad that 'Ricky' & I planned to check out Lai Wah & he might be interested too.  Crispy Beef, a yummy & rare specialty is listed on the menu so that will be my choice when we go!

And then today, I received a text that my dear Dad was picking up an order of Mongolian Pork from none other than Lai Wah!  I told you- my Dad is a serious Chinese food aficionado:)  In fact, we were just musing that few sights are as comforting as seeing a leftover Chinese takeout container in the fridge:)

So if you're in the mood, check out this little 'hole in the wall' Chinese place & let me know what you think- hoping to get over in the next few weeks to cast my vote!

Tiffany

Friday, October 19, 2012

Candy Cane Treat Pockets


Yeah!  Today I'm sharing my 1st project using the adorable Candy Cane Lane fabric from Stampin' Up!- nostalgic and vintage charm:)


I sat down one evening once our little Ms were asleep and sewed up these little treat pockets:


They're pretty adorable, if I do say so myself and were a blast to make as they came together so quickly!


And they're easy!  In an hour I had 8 treat pockets cut out & sewn up, ready for something sweet:)

I took 2 of the striped fat quarters and cut each into 4 rectangles (pre wash & iron for best results!).  Fold them so the raw edges match (top & sides) and sew up both long sides- the bottom should be seamless.


The pinking shears made quick work of the edges adding an extra little something and just fold over the top!  I think I will add a button and maybe a Velcro dot too though...


I originally made these to hold Christmas goodies but have since decided to stash them for Jonah's next birthday (a ways off, I know!)- he's having a vintage ice cream parlor theme (can't wait!) and these will be perfect for housing goodies to send home with guests:)

Let me know if you have any questions- great beginner sewing project!

Happy crafting,

Tiffany

Thursday, October 18, 2012

Winter Applique For Jonah

Greetings all.  I've recently gotten on a kick about applique and have been stashing tops for the kids, ready to be transformed into something unique and special:)  Result:  I have tops that need to be finished or they won't fit soon!

So, I pulled out one of Jonah's Ts (a GAP goodie from Kid to Kid that looks new!) and spent an ungodly amount of time trying to decide what images I wanted to showcase...because it "has to be, has to be" (random You've Got Mail quote...) just right!

And here is what I decided on:


A simple "doughman" as Olivia would say:)  Somewhat anti climactic after all the gray matter I used up, but it seems just right for my little boy- unfussy, classic & all boy:)

This was really tough to do; I took craft felt (yeah, not even the good stuff!) and cut all the circles using the Sizzix Big Shot (don't know how to create without it!) and free handed the other 'bits'.  I top stitched the body in place and then applied fabric glue to all the smaller 'bits'- I did go back over those 'bits' with a few stitches since this is for my little "destroyer"!

So what do you think?  Ready to try this out for your own little tot?  This would make an easy Christmas gift:)

Here's what you need:

T shirt (a nice one...if you're taking the trouble to embellish, don't use something "chinchy"!)
Felt (craft or the good stuff)
Fabric Glue (I got 'Api's Crafter's Pick' from Hobby Lobby with a coupon!)
Needle & thread
Scissors


When 'Ricky' saw Jonah's new shirt he said, "What does 'Brr' mean?"  After explaining (since it doesn't get cold here that often!) I found myself laughing while remembering Lucy's frequent response of "He's from Cuba"!!!  Case in point:)

Thanks for stopping by,

Tiffany

Tuesday, October 16, 2012

Come Scrap With Me!

 I'm so excited to be scrapbooking again- it's been much too long since I had the time/space set aside to indulge in this treasured hobby:)

Baby Scrapbook Pages

And, I'm looking forward to sharing this with friends!  Save your place here and join me Sunday, Oct 21st at 4pm for some relaxing girl time!

No experience needed, all supplies included and for a $30 product order, the class ($15) is free!

Can't wait!!!

Tiffany

Monday, October 15, 2012

The Buzz About Costco Honey!


 I recently came across an article in the Costco Connection that laid out some exciting news about honey that I wanted to share, in case you missed it!

First, let me say that I saw some of the Kirkland brand honey when I was last shopping in Costco and immediately thought, "It's probably not the best quality so I'll skip it...".  This article changed my mind and will likely change yours too!

Kirkland Honey is traced back to the hive, meaning they're part of 'True Source' helping to sustain family beekeepers (huge plus for me!) and attain a net-zero impact on the environment- it's also 100% U.S.grade A!

"True Source has pledged to protect its customers & consumers, as well as the global reputation of honey products, by ensuring to its utmost ability that honey is ethically sourced in a transparent and traceable manner from known beekeepers; that honey moves through the supply chain in full accordance with U.S. law; that it carries truthful labeling as to its source, has been tested to ensure quality has been handled in a safe and secure manner from hive to table," says Shauna (Costco).  "Members will find the True Source label on all Kirkland Signature honey."

Honey Facts:

"A honeybee makes one-twelfth of a teaspoon of honey in her entire lifetime.  It takes 60,000 bees collectively visiting more than 12 million flowers to gather enough nectar to make just one pound of honey."  I was stunned!


"The color, thickness, flavor and even aroma of honey depend on which flower the honeybees visit.  Color varies from nearly colorless to dark brown, consistency from runny to thick or partly to entirely crystallized.  Flavor & aroma range from mild to bold.  (Lighter colored honey is usually but not always milder in flavor.)  Varietal honeys, such as clover or lavender, like varietal wines, are affected by temperature and rainfall.  A hot or cold summer can alter flavor.  This is why the same type of flower may produce slightly different nectar and therefore slightly different honey year after year.  Clover is the most common nectar-producing honey plant.  Clover honey varies in color from water white to extra-light amber and is among the most delicately flavored honeys, making it ideal for use on the table or in a cake."

Kirkland Signature honey is clover & "great care is taken to ensure that the flavor profile remains consistent from one productions run to the next."

 The Importance of Bees

"According to the USDA, honeybees pollinate 80 percent of our flowering crops, which constitute one-third of everything we eat.  May plants are entirely dependent on particular kinds of bees for their reproduction.  In recent years commercial honeybee hives have suffered from colony collapse disorder, which, for unknown reasons, has left as many as 30 percent of bee boxes empty of bees.  If honeybees disappear, say experts, they could take most of our insect-pollinated plants with them, potentially reducing mankind's diet to little or no fruits & vegetables.  With that in mind, Costco, along with many growers across the country, is contributing to research into the reasons behind colony collapse disorder and to help reverse it.

Want to add more honey into your daily routines?  Check out the National Honey Board (www.honey.com) for recipe ideas on food, beverages, beauty treatments & more.  And here are a few ways we love to use honey: "boo boos", granola bars, as well as drizzled in smoothies, on cereal, rice pudding, savory pan sauces etc...

Would love to hear how you like to use honey:)

Tiffany


Sunday, October 14, 2012

Fall Scape Reveal!

Greetings fellow autumn lovers:)

As promised, I'm revealing my indoor fall scape, using only what I had on hand- totally free & up-cycled, transforming my blah space above the cupboards into this...


That's right, cheesy greenery & all:)


I started with some mini wooden crates that I found at Goodwill- I'm planning on using them as props for Livy's 3rd birthday bash:)  I stuffed some faux greenery inside and some little gourd s&p shakers.  The glass pear was a Target find ages ago...


Next I centered a set of vintage milk bottles in a chicken wire basket as this was my prize piece, found online here.  The frame was another Goodwill find and it perfectly showcased some owl tissue paper I had just snagged in the $ section of Target...


A goldish wire basket (Goodwill) and a tin pie plate found at Big Lots in the clearance for 69 cents balanced one end of the cupboards, softened by some hand-me-down greenery from Sweetstamper and a glass apple...


Finally I stashed some acorn/wheat sheaf potpourri in an apothecary jar, placed on a wooden stand (Goodwill) between a mini wooden bucket and a faux pumpkin (Sweetstamper!).
 
The kids were quite excited to see my popping up and down on dining room chairs as I arranged & rearranged and 'Ricky' rewarded me with a "Looks nice":)

So, what did you create?  

I was quite chuffed to discover that I was able to brighten up a major focal spot in the kitchen without spending a penny & so can you!

Thanks for stopping by,

Tiffany


Tuesday, October 9, 2012

Fall Scape Challenge

I love the fall and I love to bring this season indoors.  Of course, the projects I dream of require more time & money than I currently have at my disposal, so what's a girl to do?  I confess that I often mope with blank walls & shelves as I'm not able to accomplish these creative projects exactly the way I envisioned but today I put all that in the past:)

So here it is, my fall scape challenge: create fall ambiance indoors using only objects from your home!  This means free, up-cycling fun...and lots of imagination!

I chose to make use of the neglected space above my cupboards & here is what I started with:


Boring.

I'll be unveiling my fall scape at the end of the week & would love to see what you create too!

Have fun creating & using your imagination to create some blustery autumn decor, indoors:)

Tiffany

Saturday, October 6, 2012

The "Minnie Bow" Dress

I'm currently working on a stack of crafty projects but since they're gifts for upcoming birthdays & holidays, I haven't been able to share...yet:)  So, I decided to tackle one of Livy's projects this week- a play dress.

I saw a sweet ivory tunic T shirt at GAP a couple of months ago and snagged it for Livy (GAP has super soft Ts) as it was a whopping $4 & I loved the small pleat details on the neck & arms and the flounce ruffle at the base.  I knew this would make a great piece for embellishment- the question was, what to do???  So many options...

I set out to make a "transition into fall" dress with an appliqued pumpkin...but changed my mind, wanting to keep it more neutral, hoping Livy might be able to wear it next spring too.

 Since I'm still a beginner I didn't want to tackle anything too labor intensive and decided on a 3 tiered ruffle skirt using 3 fat quarters from this collection and some sort of applique/embellishment for the bodice...

 I was planning on a fancy flower but when Livy saw me working on her new dress, she asked for a bow and not just any bow, a "Minnie bow"!  Done:)


Once Livy tried on the dress, the bow didn't look as 'bow like' so I plan to readjust it a bit...sigh. Oh well- she's worth it!


I'm also thinking of adding some
daffodil seam binding trim...
maybe around the top of the skirt portion...
 I worked on this little project over several evenings once our little Ms were asleep- it would've come together even faster if I hadn't encountered several sewing gliches.  Since I was working with fat quarters vs fabric yardage I had to piece the panels multiple times and since I was making this up as I went along (is there another way?!) I had to continually develop solutions:)  The flaws aka 'homemade' touches aren't too noticeable though and I had to remind myself that this was intended to be a play dress:)


I also added a lining for the 1st time to ensure comfortable twirling:)


Despite the extra time involved in designing/piecing this little dress, I'm not deterred in the least from using my beloved extra wide fat quarters- they've already made fabulous 'Snack Sacks' and a backdrop for Benjamin's button frame!

Livy & I are thrilled with her new twirly dress and I have yet another tick to add to my check list:)

On to the next!

Friday, October 5, 2012

Natural All Purpose Cleaner

A while back I posted about some natural cleaning options to transforming a chemical laden pantry of cleaners into safe, natural & cheap alternatives.  Well, I've been trying to finish out my 'fumey' cleaners so I could try out a natural version- while I totally support using green cleaners, I couldn't justify dumping what I had paid down the drain, hence why I've been trying to use them up!  So, I took a little of this & a little of that from other recipes on all purpose cleaners and finally made up my own version today!


 I used a 1:1 ratio of distilled white vinegar to water + 30 drops of essential oils (15 eucalyptus & 15 tea tree) and housed in a large spray bottle.  Easy!  *Note: I chose the vinegar + water base since it can be used for windows, hardwood floors, bathtubs, sinks, counters and everything!

Variations:
1.  You can use straight vinegar (with or without essential oils) vs vinegar + water as an all purpose cleaner. We're blessed to have reverse osmosis water on tap which I used...if you don't, I would suggest using a purified water.

2. Essential oils for cleaning: lemon, orange, rosemary, pink grapefruit, peppermint & lavender as well as eucalyptus & tea tree.  I would not suggest using more than 3 oils in any one batch of solution and no more than 50 drops total.


So, do you make your own all purpose cleaner and if so, what is your recipe?

I've already tried this out on the rubbish bin, counters, glass on the back door and on the kitchen floor to spot clean- thumbs up!  There is a vinegar odor with a subtle scent from the essential oils when being applied and once the surface dries completely, no scent at all!

 My newly made batch of homemade all purpose cleaner cost just pennies to make (even with the essential oils added) and is non toxic making it safe for the kids- lovin' it!  Bye bye Comet.  Bye bye 409.  Hello Squeaky Clean & Green:)

Tiffany

Thursday, October 4, 2012

Hand, Foot & Mouth Virus?

Well, it's been a bit hectic at the Ricardo's lately, thus why I haven't been posting. 
                      

I just returned from spending an idyllic 4 days in Hilton Head with my Mom & best friend, Sweetstamper & I'm planning to return with 'Ricky' & our little Ms in the near future as it was fabulous!  This was my 1st time being away from my little Ms- I'm blessed to have a hubby that was willing to take time off work & hold down the fort in order to make this special trip a reality...and kids that don't suffer from separation anxiety:)

Going away is a lot of work, especially if you're preparing for hubby to watch kids (aka laying out appropriate clothes, grocery shopping, cooking, catching up on ALL the laundry etc...) but always worth it!  This week I've been doing the 2nd round of catch up on laundry, cleaning, grocery shopping, cooking etc... and it's nice to get back into the swing of things.

So after returning home from the park & other errands yesterday, I noticed some spots on Livy's feet and called the pediatrician's office to check...and it was confirmed that Livy had contracted Hand, Foot & Mouth Virus.  I've certainly heard of this but had never paid any attention, pridefully assuming, "My kids will never get that!"...famous last words.  Figured I would lay out a little info so that you won't be as ignorant as I've been:)  *NOTE- no pics from the internet included as they're revolting!  Livy has tiny bumps that I hardly noticed, unlike the massive welts seen in pics all over the internet...just use your imagination but don't let it runaway with you:)

1st- this malady seems to snag the majority of young children, primarily in a daycare environment as lots of kiddos are gathered in one place for extended periods of time; however, this can be passed while playing at the park, running errands etc... as it presumably was for Livy.

2nd- how do you know if you child has 'H,F&MV'?  I noticed lots of red bumps on Livy's feet (mostly on top but some on the soles too) the size of pin pricks- they were raised & didn't seem to be itchy/bothering her.  This 'rash' can appear on the feet & hands as well as in the mouth resulting in decreased appetite and sometimes a low grade fever.*  There is no visible rash in Livy's mouth & only a few 'pricks' on one hand.

3rd- how long does it last?  My pediatrician's office informed me that the 'rash' could last up to 2 weeks and kiddos could be contagious for up to 3 weeks total.  It's considered 'benign' meaning it's not harmful, but kids should be monitored for spikes in fever, weight loss etc...  Basically, you just ride it out!

4th- kids are not isolated once they've contracted 'H,F&MV' which I found odd since it's very contagious- if your kiddo is in daycare, check to see what their policy is.  I wasn't told to keep Livy out of the church nursery etc... but I plan to and have postponed several playdates etc....  I suppose technically we could've gone out today but since Livy's not feeling 100% I opted to have a quiet day at home, hoping to keep other kiddos safe too:)


So, in conclusion I'm monitoring Jonah as it's likely he'll catch Livy's malady  but since he's still eating like a horse, he's good right now:)  Praying Livy will be all better in the next week or two and thankfully, the 'rash' isn't itchy and so she's not bothered at all:)  And, since we don't keep our little Ms in a bubble, they're bound to catch some bugs now & then!

Thanks,
Tiffany