Good morning, fellow bloggers. With the disappointing news of the direction our country is headed for the next 4 yrs, I thought I would share some good news. I've been working on this little number for a few weeks, here and there, and it's finally done- my 1st fleece trousers!
I started with a fleece remnant found at Hobby Lobby for $1.79- sold. Due to how the remnant was cut though, I had to do some fancy maneuvering to get trousers from it! And since this was my first pair, made without any sort of pattern (really not needed for something this simple) I had to readjust multiple times. I've discovered there's much less fitting for skirts vs trousers:)
I deemed this project to serve Livy as play "trouseys" (Livy calls them "foceys") but still wanted some frills to perk them up- gives me an opportunity to play and create...and learn:)

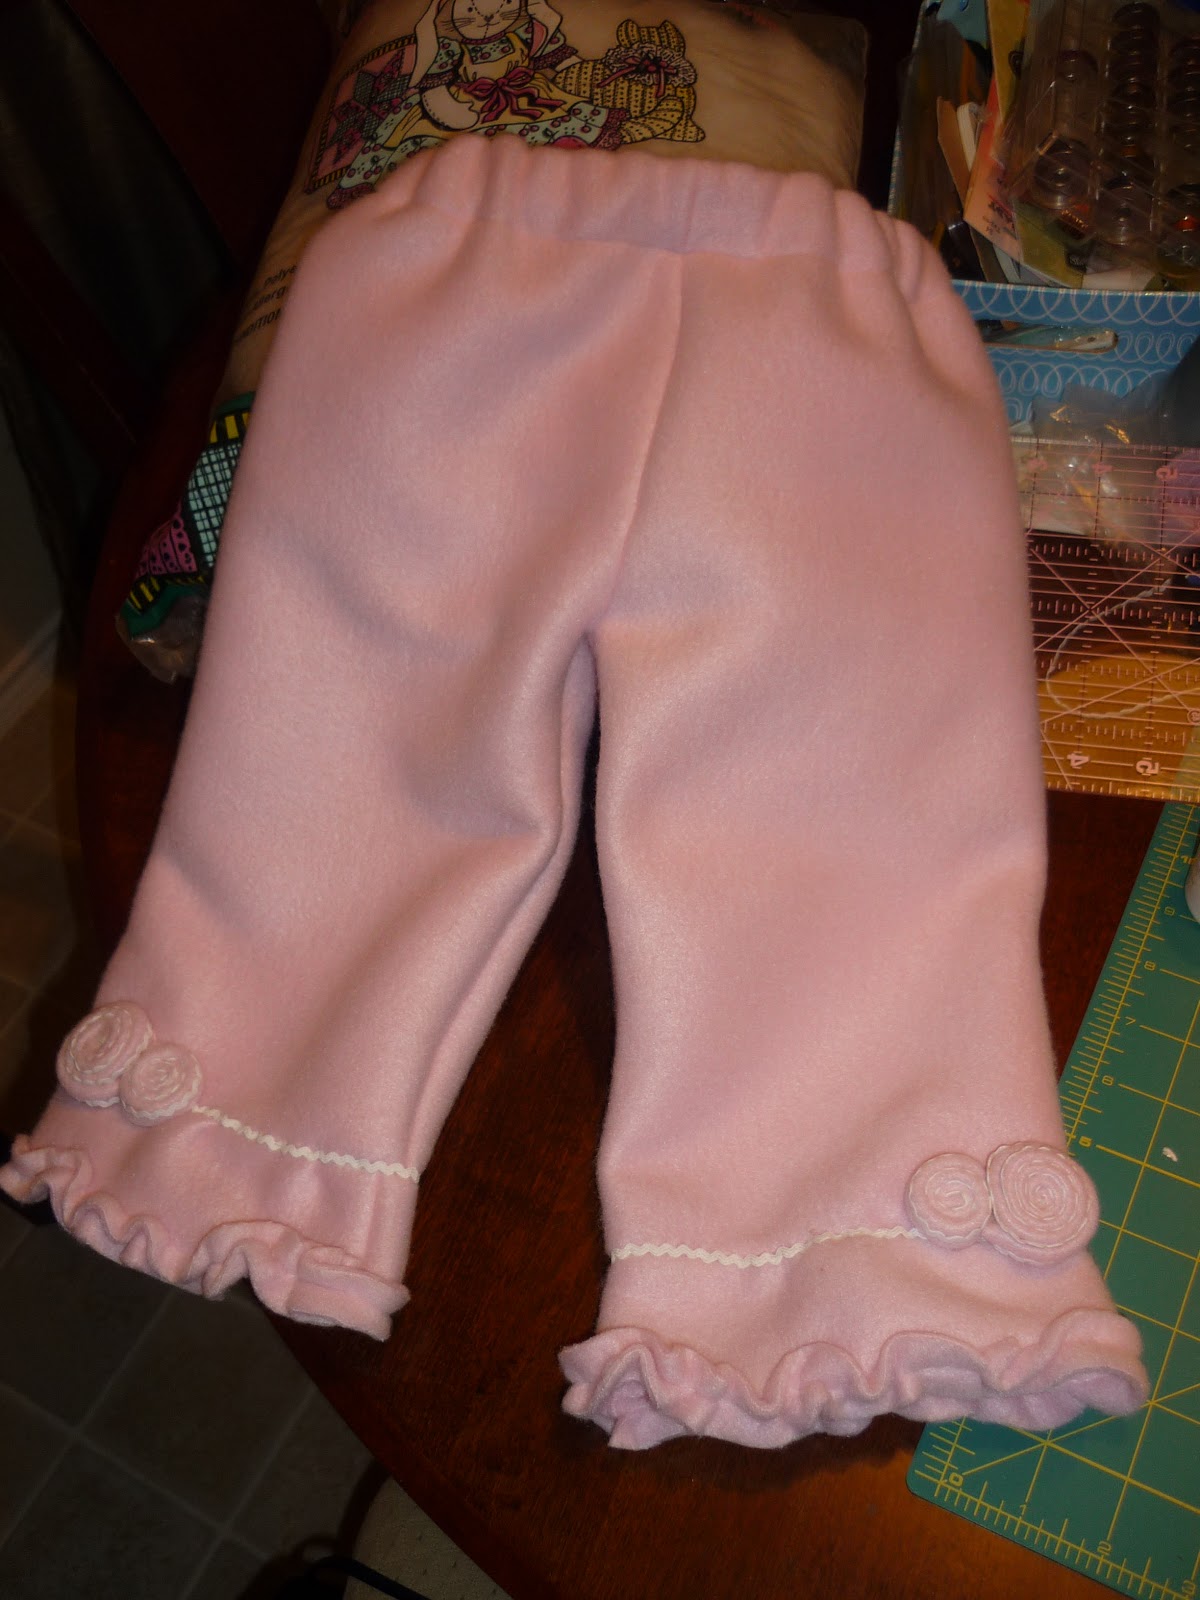
Since I was using a remnant, I scrimped and saved every bit to form rosettes and frills and added some baby white rick rack that I had on hand, for contrast- it was looking too much like cotton candy otherwise!
The rosettes were formed by knotting the end of a strip of fleece and attaching the rick rack with dabs of fabric glue, winding around and gluing until the desired size was achieved- I attached to the trousers with the same glue (need to dry for a long while!).
The waist was easy with some woven, non-roll elastic- loving elastic waists, despite the fact that I had to redo this as the original looked like a Hollywood waist, fit for Fred Mertz!!!
So here they are completed and ready for my Tornado:)
Once Livy tried them on, again, I realized that I over compensated on the length- the original length was too long so I trimmed...now they're perfect for play but just a tad short for proper fit purposes...I'm holding to the story that she grew over the past week though!
Once donned, Livy exclaimed excitedly, "Pink!" and insisted on going to "ride me bike" with her new "foceys"...
She was quite enthralled with the rosettes (aka "fowers") and kept checking to ensure they hadn't flown off during her wild riding of "me bike".
"Livy, do you like the trouseys Mama made for you?"
Livy: "Yesssss! My Pink Foceys!"
Despite the fact that these "foceys" aren't perfect, I had a fabulous time adjusting, arranging & creating and learned a lot in the process. And for approx $2.50, Livy has a new favorite pair of play "foceys"!
Ricky's take on this project? "Couldn't we just buy her some so you don't have to do all this???"
In a word...no! I'm having way too much fun!
Let me know if you have any questions- I'll be making a pair for Jonah too (minus the trim & rosettes!) so stay tuned:)
Tiffany